This past year, when I finished my shop work, often I'd step next door into my garage area and do some work on an old car I'm restoring. (If you're interested, it's a 1960 Ford Falcon restomod with a Chevy 350 under the hood.)
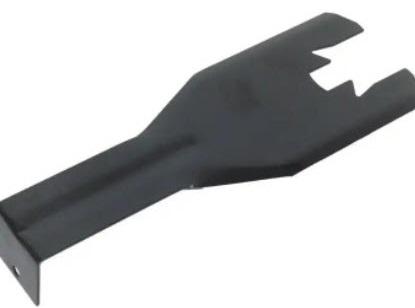
The other day I needed to remove the inside door panel because one of the winged vent windows wasn't closing. From some videos I've watched I learned that there was a tool designed to remove the window crank and door handle that looked like this.
It slips behind the handle and pushes off the clip.
Being the know-it-all (and cheapskate) that I am, I figured I could use some tools I had laying around to do the same thing. After 30 minutes of prying, pushing, twisting and wiggling I finally after long last.....gave up.
I picked up the $10 tool yesterday.
While I was trying to do this workaround, I had a flashback!
In 1985 when I was first learning how to chip carve, I made my own knife to give it a try. Shoot! It'll do the job, right!
It wasn't long before I ordered my first knife designed for chip carving. Just like the window handle removal tool, using the tool designed for the job makes all the difference in the world when it comes to getting the desired results.
You'd think I'd learn after all these years 😂
Pattern Design: An Inside Look
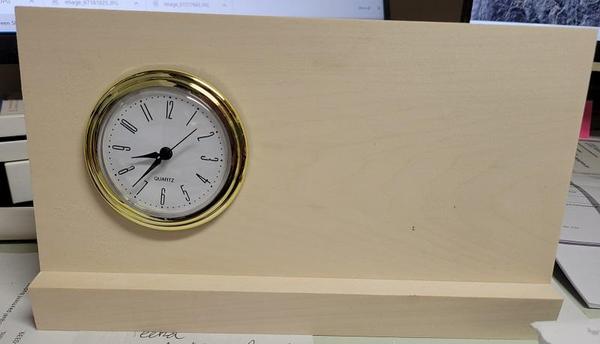
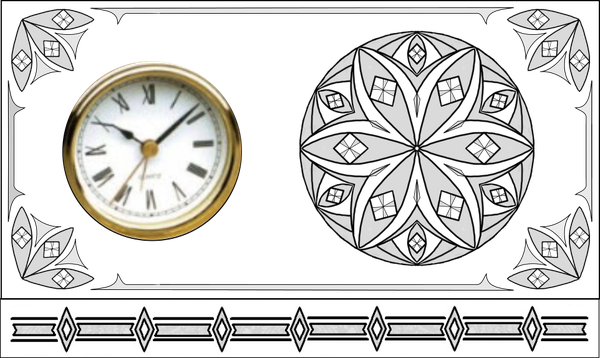
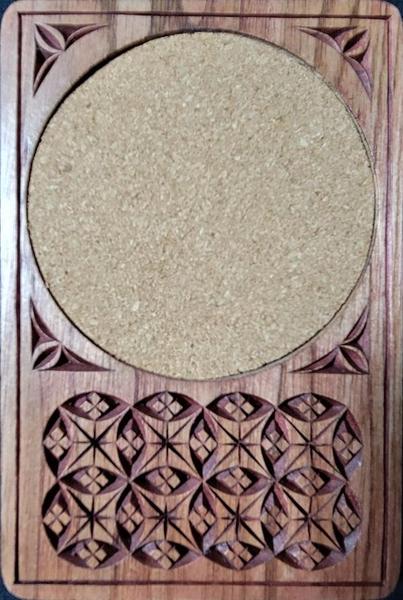
The new project for June is this Small Desktop Clock.
Here's the process I went through to design a pattern for this project.
I hope you find it interesting and helpful❗
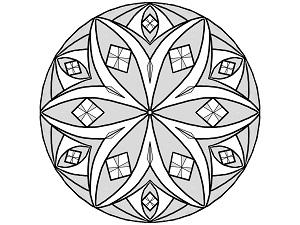
Step 1: Design the rosette for the main pattern element. I used the Amaziograph app to get the design idea and then created the final pattern using Inkscape. It could also be made using the Pattern Wizard.
Step 2: Incorporate the rosette and other elements into the project.
I tried a couple of different combinations of corners along with the base pattern. All of this work was done in Inkscape.
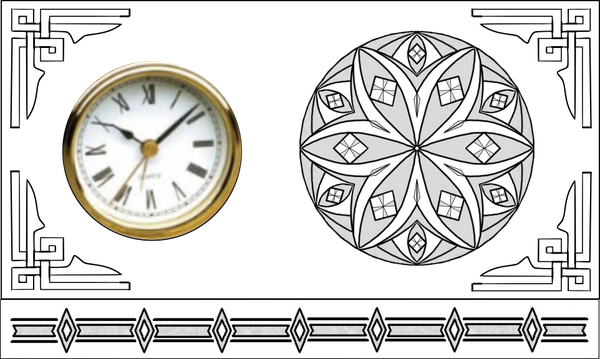
Step 3: Neither of these designs were very appealing to me. Something wasn't right so I sent them to Bethany to get her feedback. She's got a good eye for design.
While I was waiting for her reply, I realized why these first designs didn't look right. What I'd done was combine two and three different styles together in one pattern!
The rosette was Gothic, the bottom piece was Art Deco (I think) and the bottom corners were Celtic Knot. No wonder they didn't look right!!
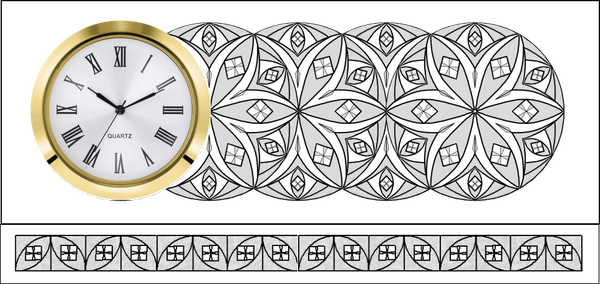
Bethany commented that the rosette was larger than the clock and suggested trying overlapping rosettes. Perfect! Now I was ready to make some changes. And here's what I came up with...
After adding the overlapping rosettes, I shifted everything over to the left and decreased the overall height. It was too tall and left way too much empty space above and below the clock insert and rosettes.
Making the bottom design an alternating Gothic leaf pattern helped tie the top and bottom together.
Applying what you've learned is what it's all about!
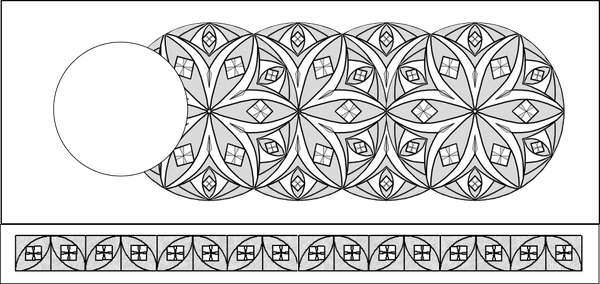
Step 4: To create the final pattern, the clock image had to be replaced with a 2-1/4" circle where the clock would be inserted.
This pattern flows well, fills the space nicely and has a unifying design.
I hope you like it as much as I do!
More on this project next WEEK!
There's still TIME!
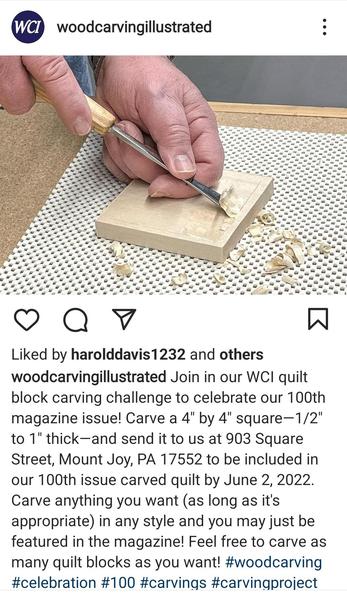
I hope you're planning on submitting your Quilt Block to Woodcarving Illustrated for their 100th issue Challenge!
Send it soon! Details are below...
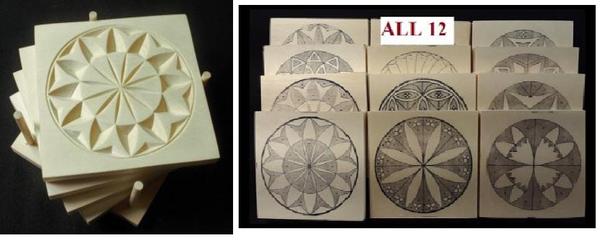
You can enter as many blocks as you like AND the size just happens to be the same size as the Coasters and Rosette squares that you may have already carved!
But don't wait! Mail your entry(s) to them by June 2nd!
❗I'm looking forward to seeing YOUR quilt block in the 100th issue❗
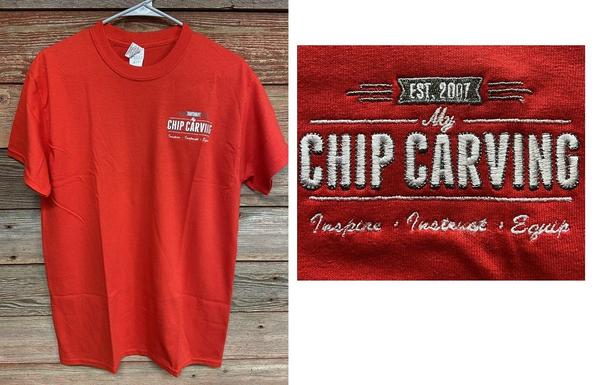
Get a MyChipCarving T-Shirt for FREE with your order of $70 or more.
Wearing this shirt to your next show or club meeting will demonstrate your commitment to chip carving and will help spread the word about our great craft!
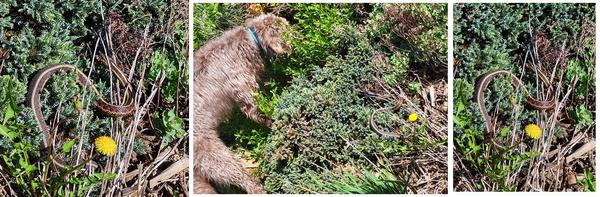
Came across this beautiful garter snake today. I tried to point it out to Chip but he didn't get the idea and was looking at the wrong bush. When he finally saw it the snake slithered away to hide. Very anticlimactic.