In 2008, Shelley and I started construction on Red Barn Retreats, which we said many times during the process, would either be the "best decision we've ever made" or the "worse decision we've ever made."
It was a very hectic year especially starting in May until the scheduled grand opening in early August. One of the big projects I had to complete was installing a limestone patio, seating wall, round planter, walkways, and 12 stone supports for pergolas and 5 for parking lot lighting. Just typing that makes me feel tired all over again.
I seem to recall buying double digit tons of stone. Ya, it was a lot.
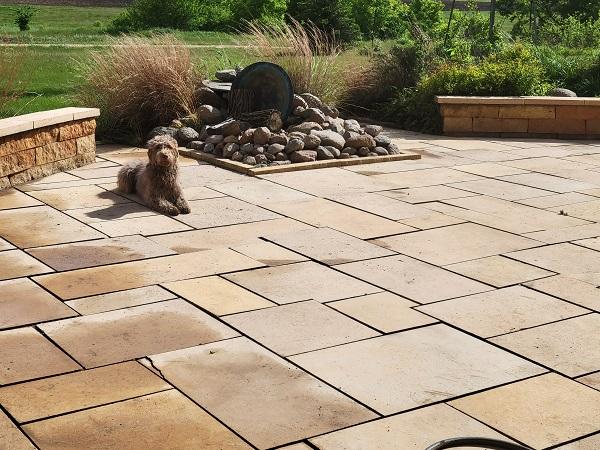
Each piece had to be cut to fit. Here's me and my beloved brother and a pic of what it looked like right after completion.
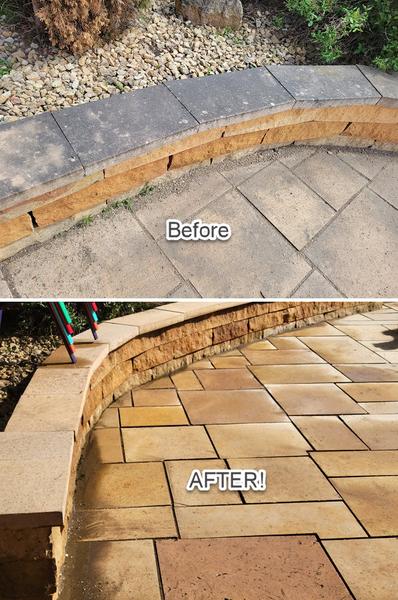
Since the completion of this stone work, I haven't done any maintenance or upkeep on the stone. As a result many of the stones grew black mold on the surface. That all changed this past week!
Fire up the pressure washer! One stone at a time, stone by stone, I cleaned off the mold to restore them to their original limestone color. During the process I wanted to leave as much sand in the joints as possible and not blast it out of the opening and into my face!
I had plenty of time to try all different methods. Spray carefully along the edge. Spray at a very low angle. Spray quickly across each joint back and forth. Spray with the nozzle very close to the surface for more control. Spray while standing on my head. Okay, not the last one. Just checking to see if you're still reading. 😉
I was learning what worked best, stone by stone. After all was said and done, I determined that keeping the nozzle close to the surface and moving along the edge worked best. I could move fairly quickly and had minimal blasts in the joint making me really dirty.
This job took me about 10+ hours, one stone at a time, stone by stone! Sounds familiar...
Reminds me of learning how to chip carve, one chip at a time, chip by chip!
This is why all of my classes begin with removing just one chip at a time.
Remove one chip and examine it. Did it come out with single cuts? If not, why not? Does one or more cuts need to be deeper?
Are all cuts at the same angle? If not, why not? Which cut(s) are either too steep or too flat?
Are the straight cuts straight and curved cuts smooth? If not, why not?
Was your board lined up correctly for all straight cuts? Were you using the Modified Knife for curved cuts and did the board turn smoothly during the cut?
This is self-evaluation and is an important part of learning how to chip carve. One chip at a time, chip by chip.
Focus: Remove the next chip while using the Feedback you just gave yourself.
Feedback...and so on
I show you when to remove more than one chip at a time. Deliberate Practice will make you a better and more successful chip carver. You'll also enjoy chip carving much more. 😉
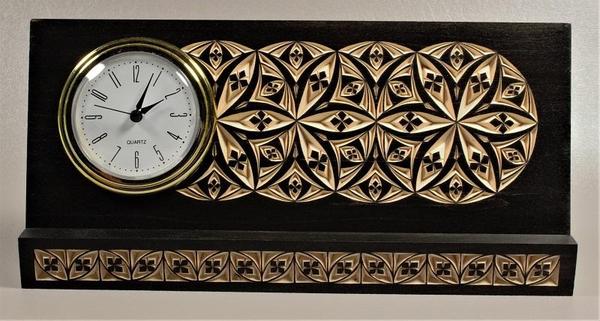
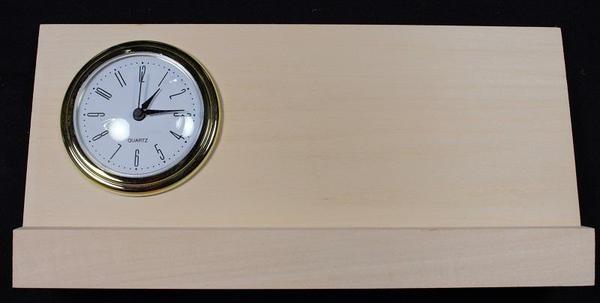
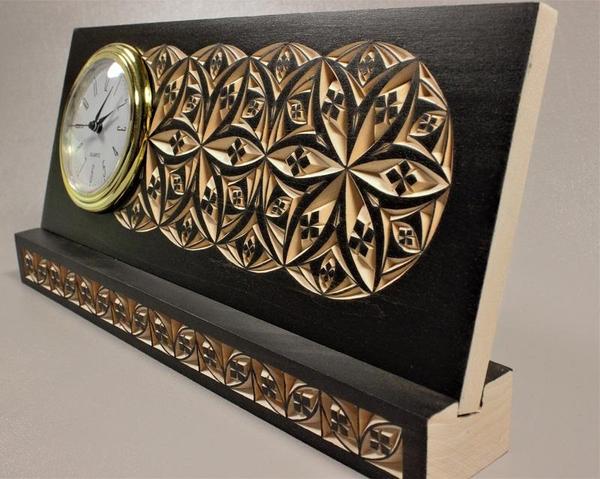
Shelley's response when she first saw this carving was, "I like it. It's like you've said before, there aren't any shadows."
While the shadows are still there, they don't stand out because the surface is black. The contrast between the shadows and the surface is gone so the shadows don't stand out.
This is my first time using a black gel stain. You can stain yours any color you like or you can carve and finish it another way. The choice is yours!