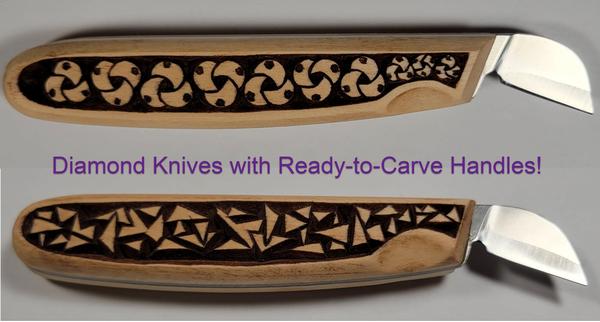
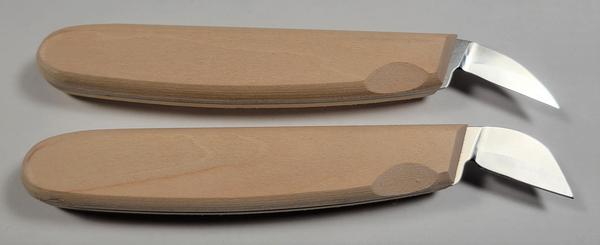
As soon as these Diamond Knives are in stock - the Pre-Order will END!
So I wouldn't wait if I were you.
It may only be a week or two before I find the time to run the first batch!
"5 Reasonsthat chip carving is a great hobby"
Reason #1: Chip carving goes wherever you go!
Reason #2: Chip carved items are useful and appreciated!
Reason #3: It doesn't take a long time to become a good chip carver!
Reason #4: Chip Carving isn't an expensive hobby!
and another reason why chip carving is a great hobby!
Reason #5: You don't have to be an artist
to enjoy chip carving!
That's right, no artistic ability is required for chip carving to become an enjoyable pastime.
Before the advent of computers, patterns were hand drawn and usually drawn directly on the wood. When doing drawings like this it helped to know how to use a t-square, compass, French curves and other drafting tools.
But now, I've got hundreds of patterns that you can easily download and apply to your work and start carving in minutes. No artistic, drawing or drafting skills are needed!
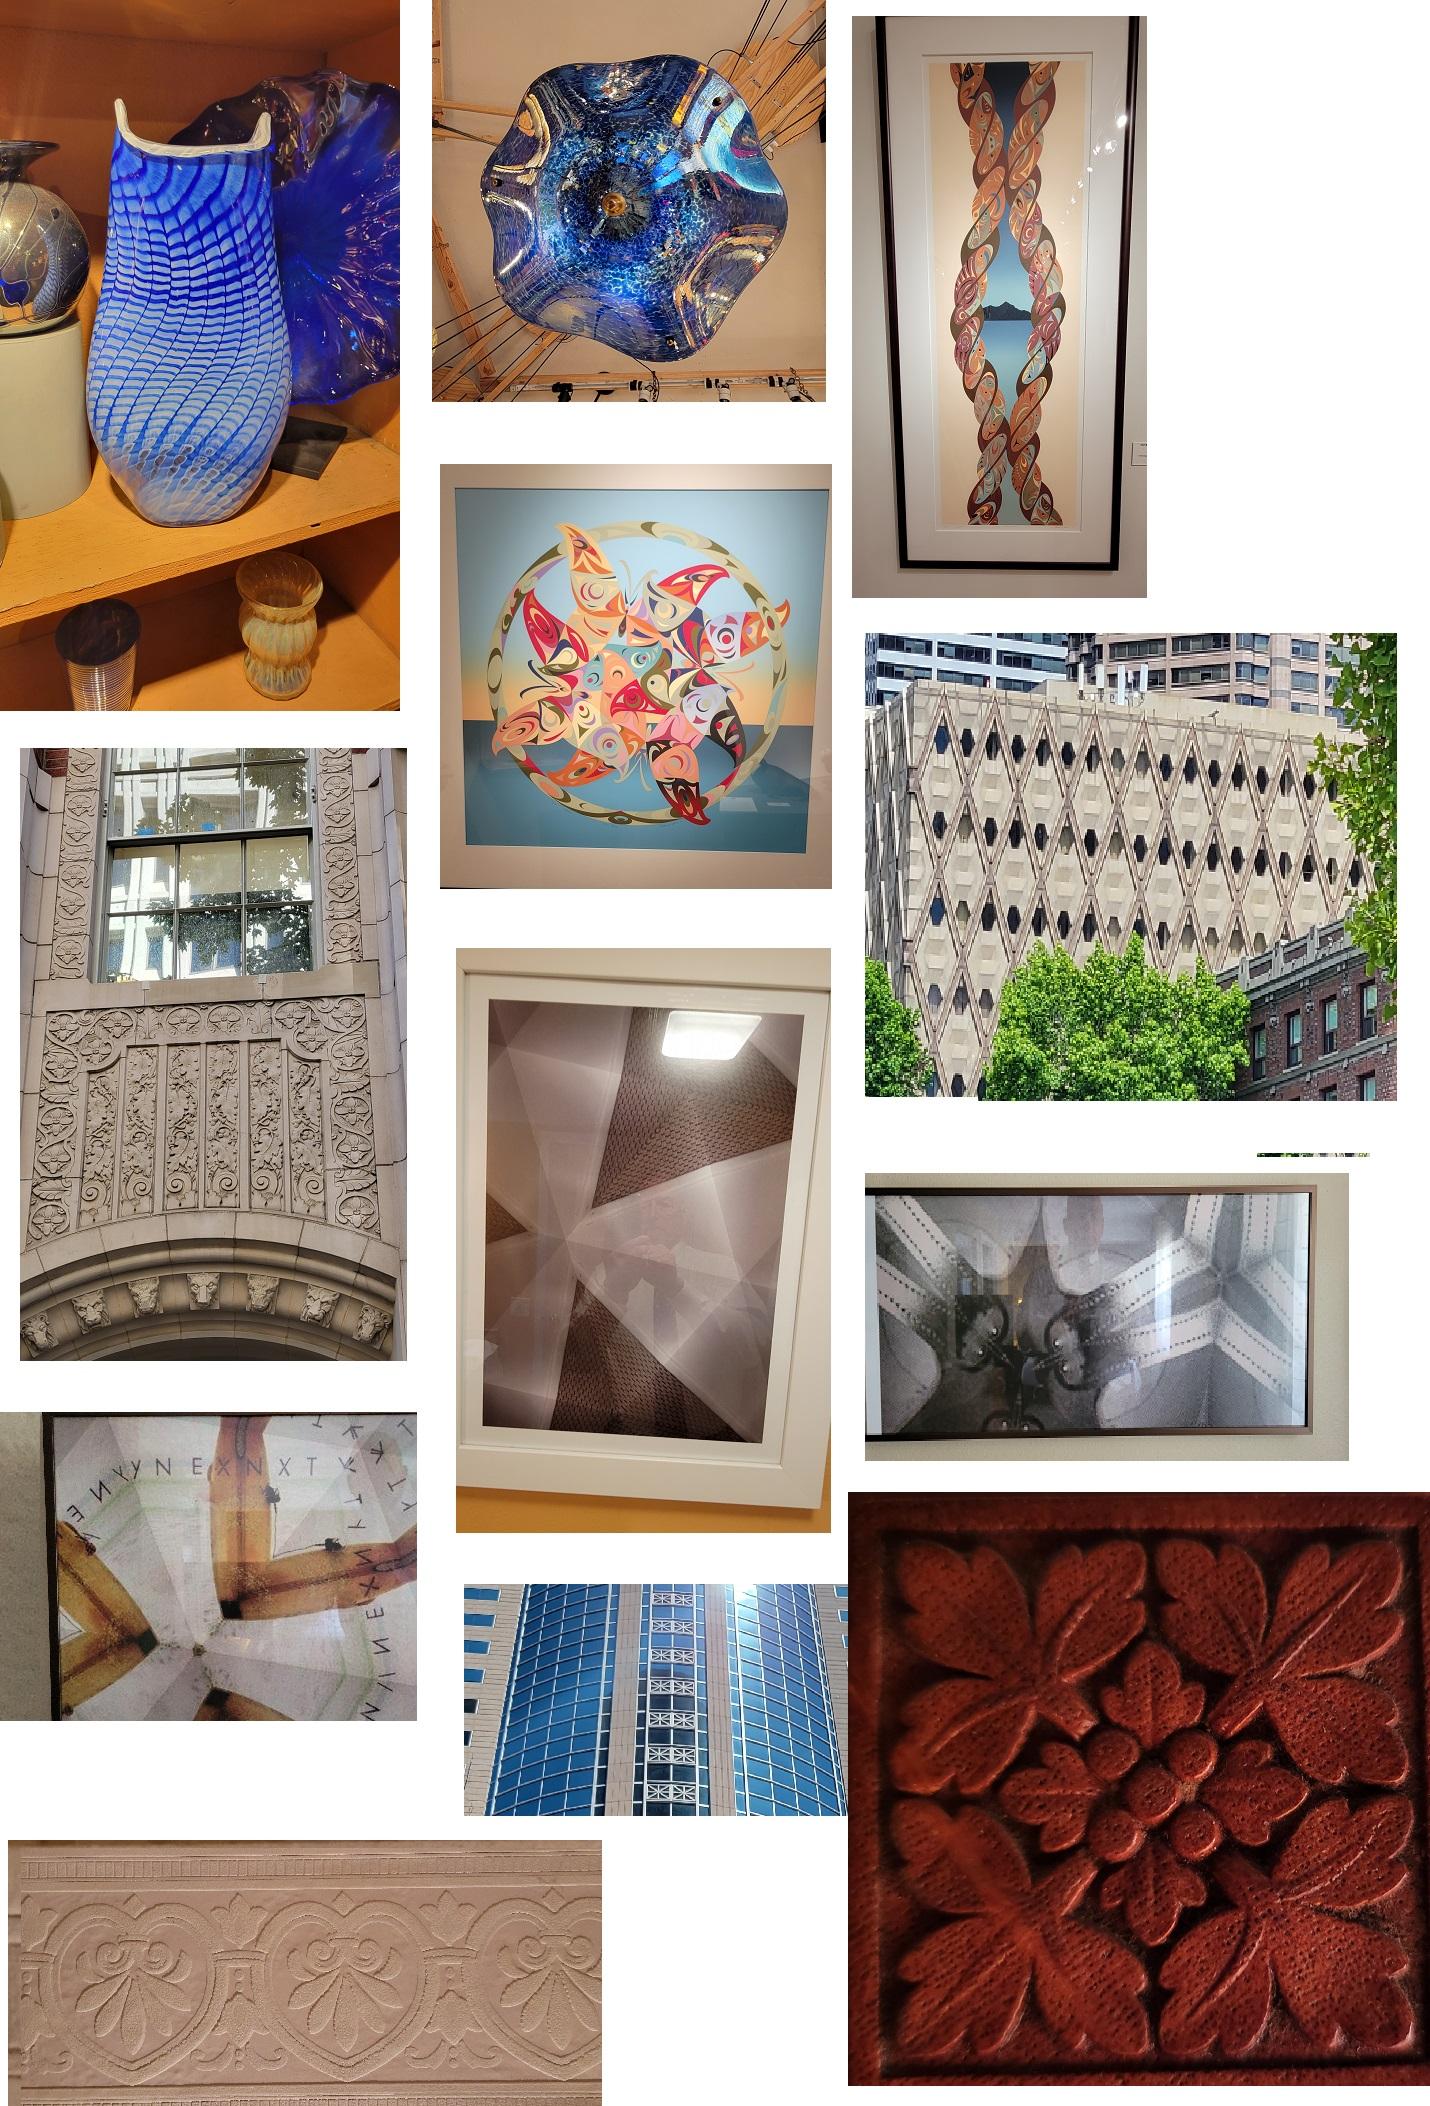
If you like to create your own designs, it still holds true that you don't have to be an artist to get started. Start making observations of your surroundings and pretty soon you'll be seeing patterns and shapes that you can transform into beautiful chip carving designs.
Here are a few pictures I took in the last couple of weeks that could be used to generate some unique chip carving patterns.
You can tell I see chip carving patterns everywhere I look. Buildings, glassware, wall pictures, fabric and in art galleries.
All that to say...You don't need any artistic ability to enjoy chip carving!
A bit about the Chip Carving journey Kathy is on!
I met Kathy when she joined the Platinum Community in March of 2021, and joined other members during our monthly Webinars.
She took her first chip carving class with Carolyn Halbrook at the Texas Woodcarvers Guild Spring Rally several years ago.
She didn't continue carving for 5 years as she took an interest in woodturning, as you can see in the beautiful turned bowl.
Kathy expressed an interest in the Certified Chip Carving Instructor Program just recently but wasn't sure if her chip carving ability was good enough to consider this Program. She sent me these pictures along
with the bowl picture so I could see more of her work and give my recommendation.
Looking at the carvings you sent me and your dedication to learning by completing the Essentials Course and Deliberate Practice Course several times, I'd say you're ready for the CCCI Program.
By taking the Program I'll teach you how to teach others. In the process your chip carving will improve because what you're learning how to teach others is something you'll apply in your own carving.
You submit many assignments to me and I'll help you with any trouble spots that show up in your work.
You don't have to be the best chip carver to be an excellent teacher! You'll see improvement in your skills on your way to teaching others!
Enroll whenever you're ready!
She enrolled and has already completed the first three lessons!
When Kathy graduates and is ready to teach her first class, I'll be sure to let all of you know!
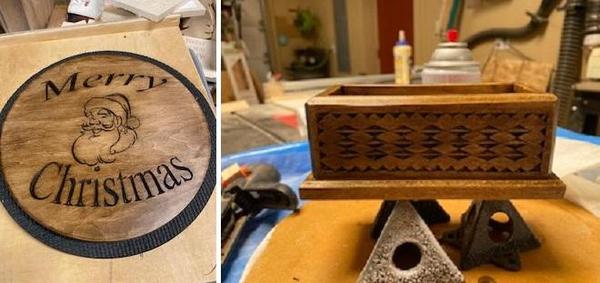
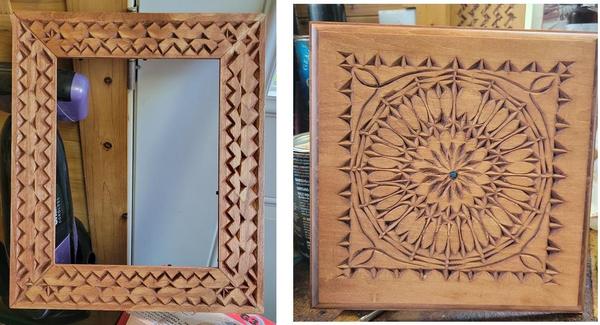
I've known George for a long time and he has become a Christian brother and chip carving friend. Here's some recent work of his for all of us to look at.
He asked for my critique and said I could share with you for your benefit. That's what it's all about, right!
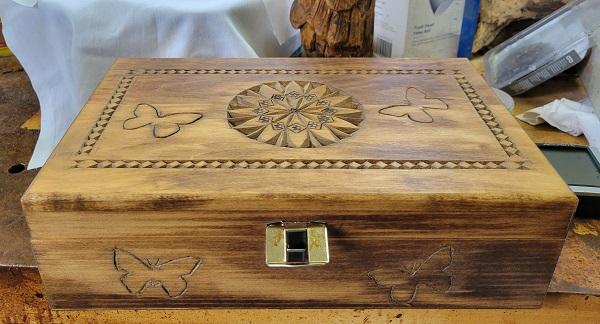
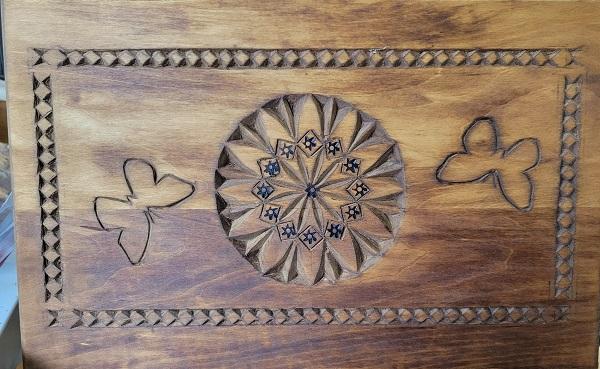
Let's focus on the finishing technique and materials used. He used a penetrating oil stain on these items. Here's my reply...
without a sealer basswood will become spotty as the soft spots soak up more stain than the harder spots in the wood.
I always recommend sealing the wood first with either SealCote or a clear spray like lacquer or acrylic.
Then apply a gel stain if you want to add a color to the wood.
On the top of the jewelry box (bottom image) you can see a dividing line showing where two pieces of wood were glued together to form a piece wide enough for the top. One of the basswood boards was softer than the other so it turned darker. A few soft spots also showed up as you can see a few dark spots on the top board.
The clock (top right) finish is consistent and even. This item must have been one board with even grain and density on the surface.
The frame (top left) only had one spotty area on the top and seeing as George's wife liked the look, then it's a definite winner!
When it comes to finishing, I'd suggest you go through the Finishing Course. Applying a finish to a project you've spent hours carving, without knowing how the finish will look, is definitely not a gamble I'd suggest you take.
A good carving with a poor finish equals a poor carving.
An average carving with a good finish equals a good carving.
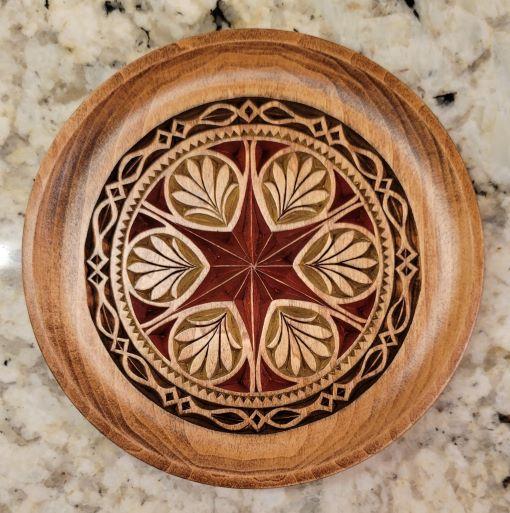
July's Project
This 6" Scoop Plate pattern is brand new for July. You can make it utilitarian (useful) by adding a candle cup to the center if you like. Just flatten the center and screw the cup in place.