This year my Christmas ornament carving progressed as it usually does.
✔️ One ornament is carved when I release the new ornament pattern and video in September.
✔️ October the completed ornament
sits on my desk and I stare at it regularly.
✔️ November I apply patterns for all the ornaments I want to carve.
✔️ Thanksgiving weekend I complete about half.
✔️ Early December I finish the remainder while watching football.
✔️ A few days
later I take them to the shop to get ready for finishing.
✔️ They sit there a few more days until I get the finish applied.
✔️ Yesterday I bring them home, add eye screws while Shelley cuts ribbons and finishes putting them together!
So how long did it take me to carve 23 ornaments? 3-1/2
months!!
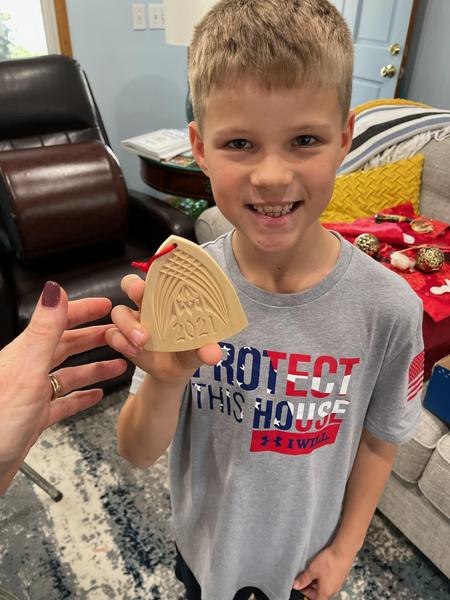
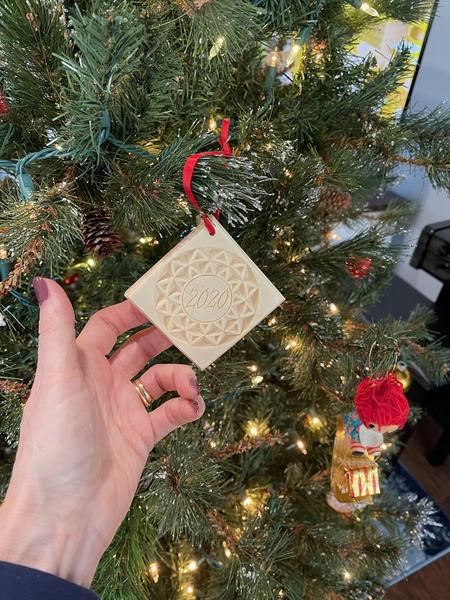
Here they are for your viewing pleasure.
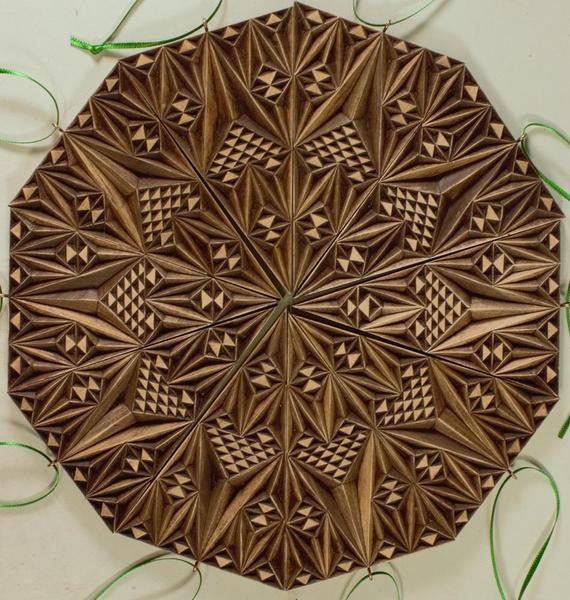
When my ornaments were sitting in my shop, we had guests at Red Barn Retreats (my shop is inside the Red Barn). Someone was in my shop and took the ornaments and put them together like this...
Brilliant!! A 10-point Ornament Rosette!
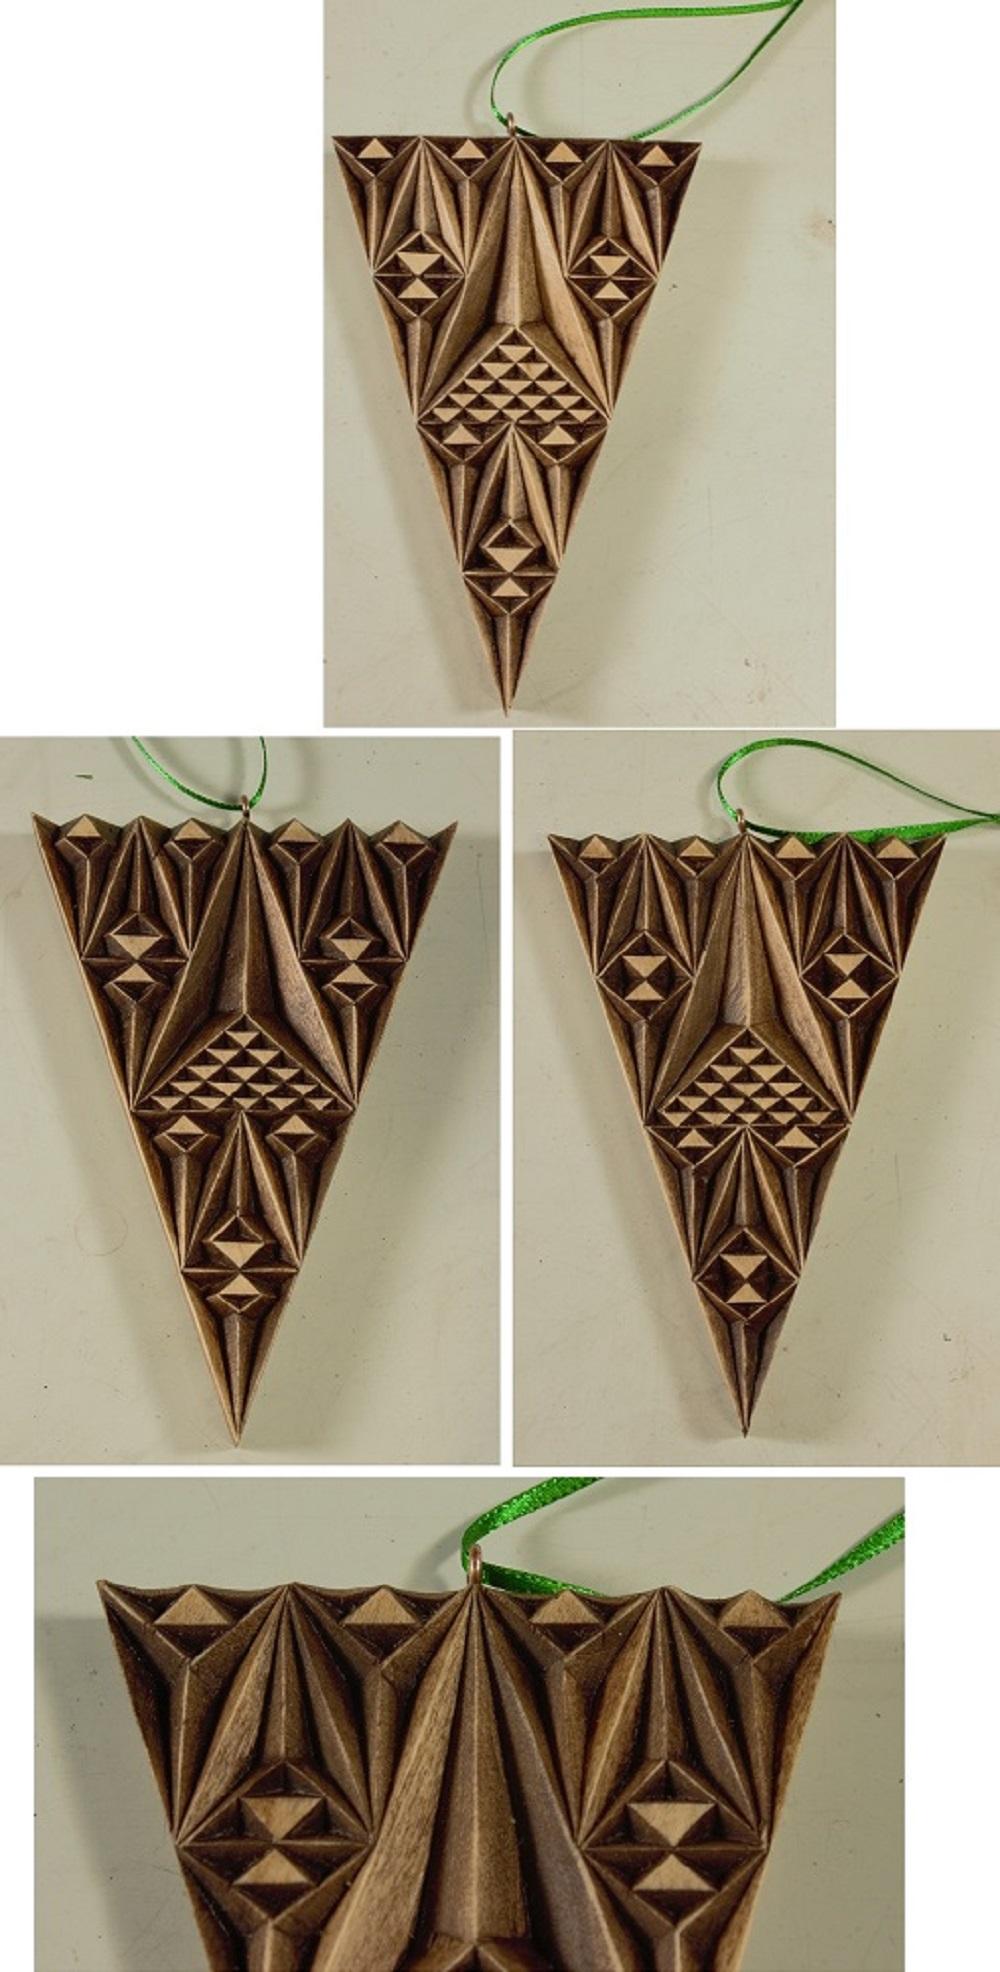
And something else that I'll be adding to the coming Preventing Chip Out Course, can be seen in the following ornaments.
Look closely and compare each ornament to the one that's on the top.
I'll be explaining what happened while I was carving these, how you can avoid it, and what can be done after it happens. Stay tuned!
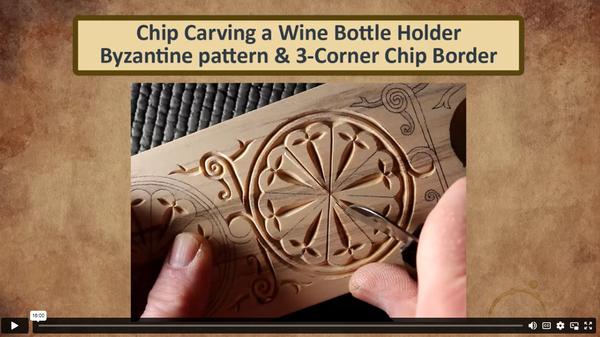
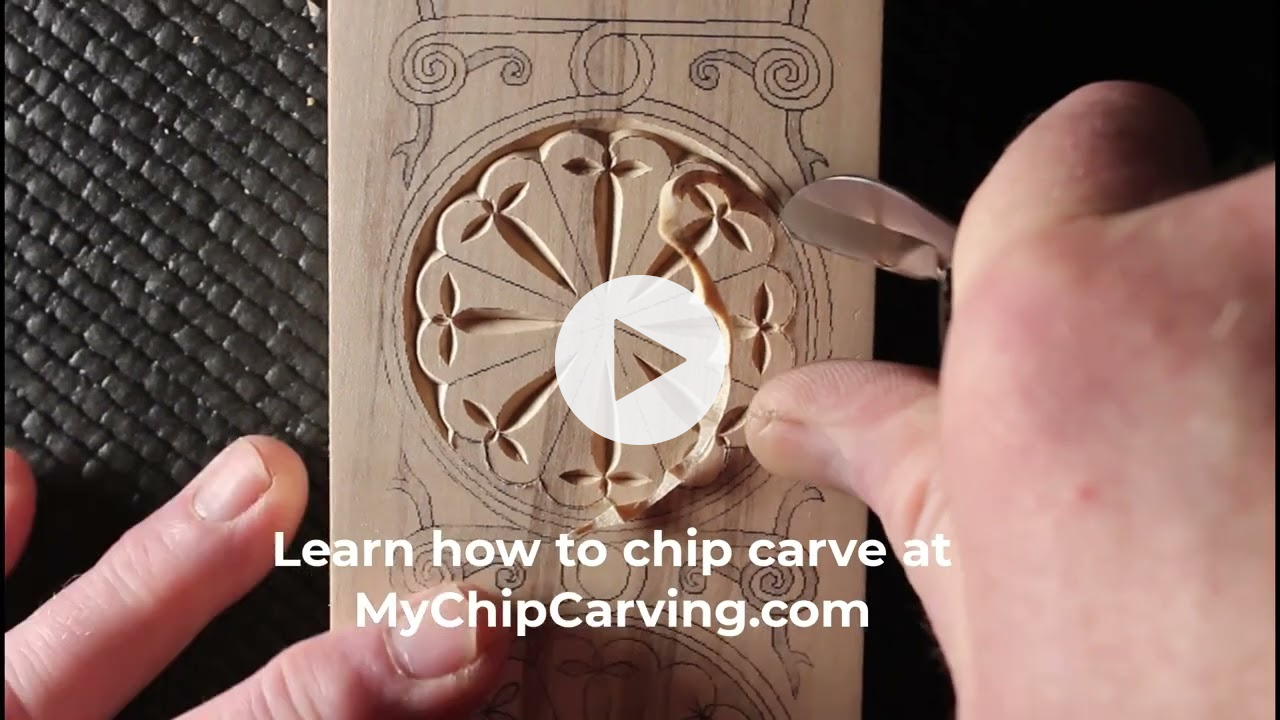
Here's a quick cut of this month's Platinum Member Video!
Watch the entire Video, and EVERYTHING else I've created to help you learn how to chip carve when you upgrade to Platinum!
What are you waiting for?
Give yourself a present that you'll enjoy for a
long time!
Do you recall the time I mentioned this?
Gary did!
"Hi Marty,
It's been awhile since I corresponded with you. But, I have continued to carve almost every day for an hour or so. And, as I take on more
challenging patterns and projects I occasionally need something to tweak my imagination.
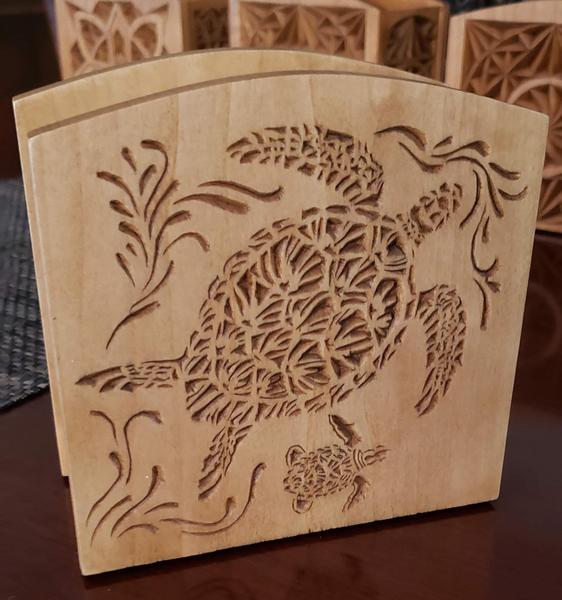
Recently, you included a letter in your weekly email from a fellow carver that contained a picture of a pattern that they wanted to try and it tickled that
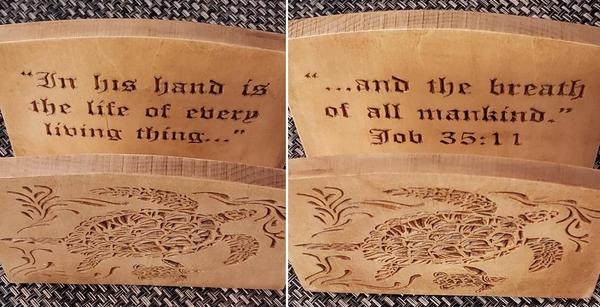
inspiration bone in my head. I found the pattern after a bit of web surfing and was able to get it put into one of my PowerPoint pattern templates for a napkin holder. Here is the result:"
"My tips and observations for anyone that wants to carve this pattern or a similar type of pattern are:
have your curvy
letter carving skills honed to perfection (pun intended). And, this is not for the script on the inside, it's for the main pattern.
make sure you use fine grained basswood (your practice boards work great for this)
be meticulous in your pattern transfer. It needs to be as fully defined as possible because there isn't a single straight line anywhere in this pattern and many of the chips are tiny.
make sure you have humidified your wood thoroughly. I found that 15% - 18% was enough
to make those tiny, odd shaped chips come out more easily. I left my blanks, with the patterns already applied, in the "box" at 90% relative humidity for 5 days before starting. Having a moisture meter is handy for this
RELAX and take your time (and it will take time). This pattern is way different to carve than the more traditional geometric patterns. You will need to allow yourself some "artistic license" if you want to have fun and not set off every OCD
trigger in your brain. Don't ask me how I know, I just know.
Lastly, even if you start it and don't finish, I guarantee you will have learned some new skills in the process.
Thanks for all your support, instruction, and encouragement over the years. It's been a blessing for me."
Gary
Did you notice the other carvings in the background of Gary's photo?
I asked him if he'd share
them with us and here they are!
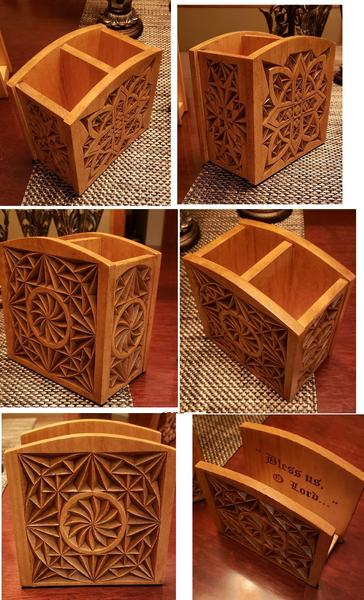
"I'm happy to share photos of the items you saw behind the "turtle" napkin holder. I made a lot of these this past summer with a variety of patterns. The caddies can be
used for remotes, silverware, desk items, or whatever. They are the same size as the napkin holder which is 6" x 6" x 2.5". I give them away to anyone that will appreciate them.
I just gave 8 or 9 of them, along with a couple of candle plates to the religious community that serves our local Catholic parochial school. They are going to use them for
their annual Bescherung (a German tradition of gift giving) at their mother house in Illinois. This gives the sisters the opportunity to get gifts for their families since they don't earn any money to buy such things. It's a win-win since I love making them and they appreciate getting them.
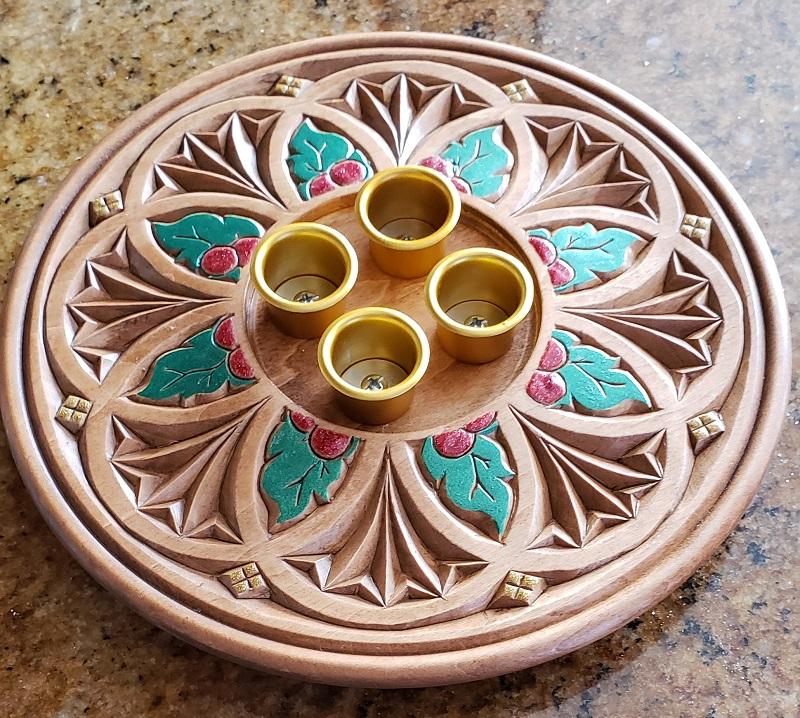
You might also like the Advent candle plate that I made a bunch of. I've probably made a dozen of these. I gave half of them to the school bazaar for their fundraiser. Pretty
popular.
Merry Christmas to you and
your family,
Gary"
Gary's really doing some nice
work!
His Caddy
is something I should consider adding to the Store.
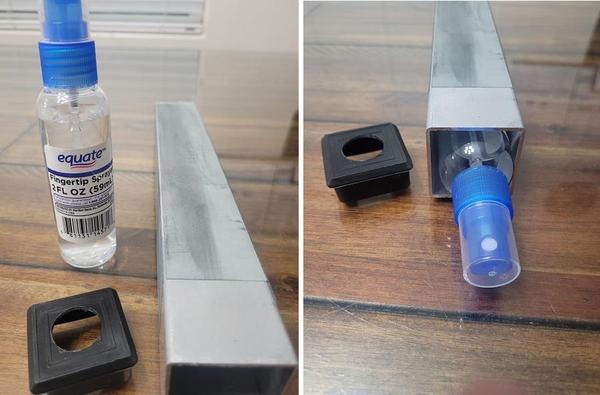
I had a spare 2oz. spray bottle (from the Walmart travel section), and thought it would be nice if it fit in the sharpening tube, for ease of taking water with me when I travel. It fit
perfectly!
Of course, water from any source could be used, but I like the spray method, so was excited that this would work for me. You're welcome to share the idea if you'd like to."
Presently, my biggest challenge is finding enough time to properly practice. I have the same challenge with music, and I feel that practice is essential to building confidence and skill with both music and chip carving.
--Ripley
Hi Ripley,
The time challenge is a common problem we all have. Gaffigan's meme is funny and true.
mark the time you'll set aside on a calendar, either digital or physical, whichever will get your attention.
Maybe it's that time when you sit down after
supper or 15 minutes at lunch time or one hour Saturday morning or stop checking email and practice instead.
Whatever the case, it needs to become part of your routine so that you'll get used to doing it regularly at a particular time.
I know, easier said than done.
What do you think? Is there a time you can
set aside to regularly practice chip carving?