I hope you've been enjoying all the new projects and educational materials I've been able to bring you this month as we celebrate the 16th Anniversary of MyChipCarving.
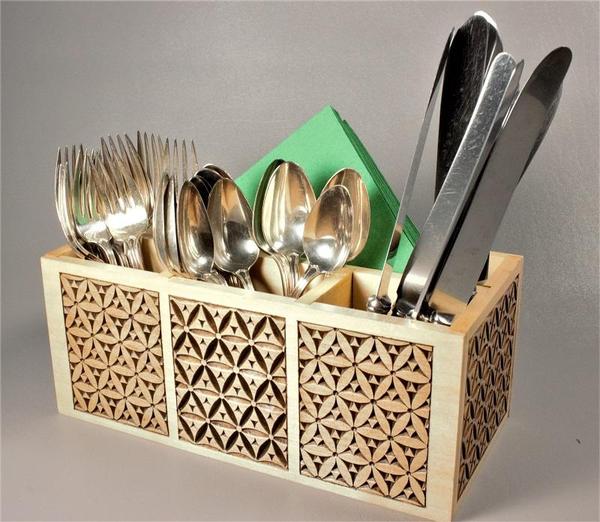
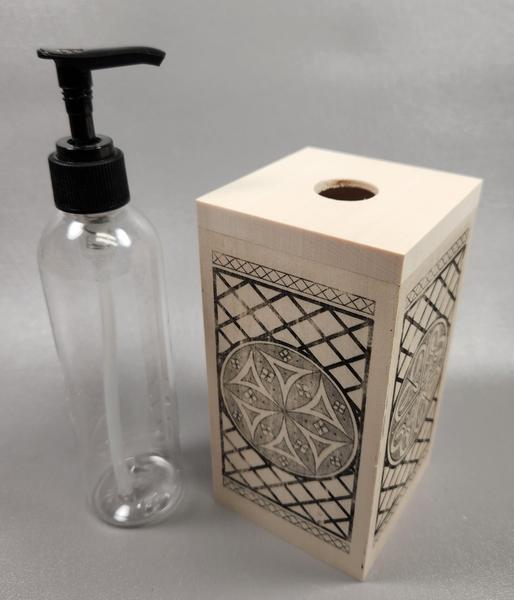
This project comes as a Kit for easy carving. It's easy to assemble when you're done and you'll have a useful, functional and beautiful piece to display your carving.
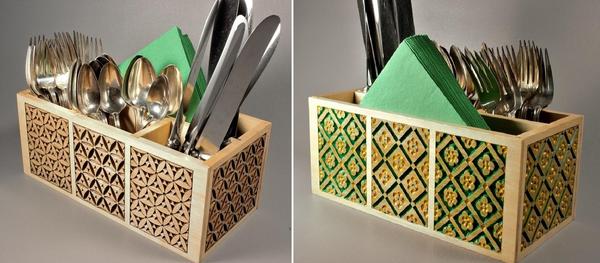
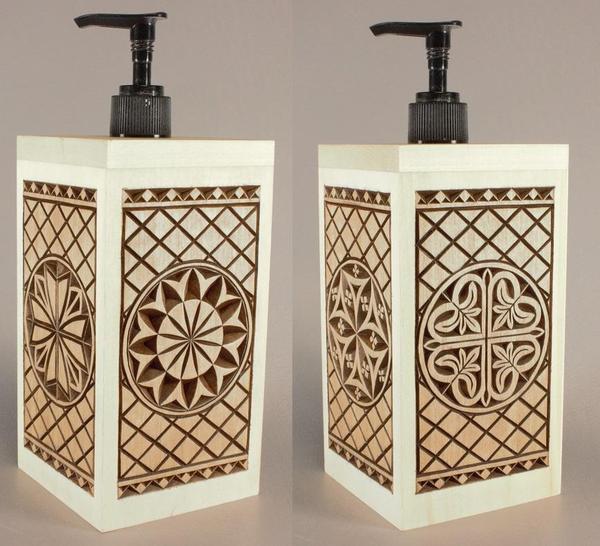
The patterns I designed for the Caddy are just two patterns, both as positive and negative images. We talked about this in the April
Platinum Member webinar how you start with one pattern and invert it to make a second pattern.
Also, I finished 2 sides with a gel stain and the other 2 sides with acrylic paint and a bit of gel stain to give it an antique look. Showing you two different finishes takes some of the guess work out for you and you can choose the method you like best or use both like I did!
After sealing the surfaces by spraying
3 coats of clear matte acrylic, I taped it off like this (before staining)...
So, was I right? Do you like it as much as Shelley does? (which is a lot)
I ONLY made 30 Kits.
I'm not sure if I'll make more after these are gone.
Last week I mentioned about that I'll be teaching a class in Charlotte, NC, with the Charlotte Woodcarvers. It's Wed. June 21st and Thursday, June 22nd.
Next I mentioned 2 favors...
Favor #1: Would you like to attend the Charlotte Class?
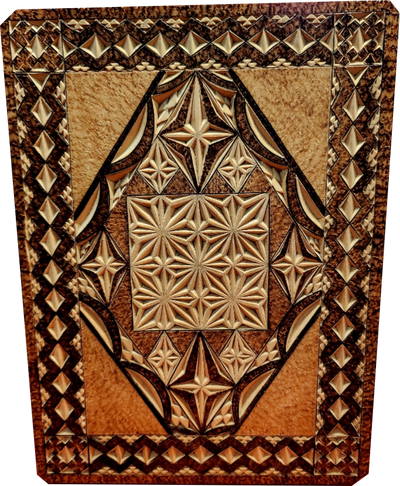
Combining wood burning, chip carving and ?, Kevin always creates unique, one-of-a-kind pieces. If you look closely you'll see that both Swiss style and Old World Style chips are incorporated into this plaque.