In June the 9x14 Cross was carved in the Geometric style which is out of the ordinary for MyChipCarving.
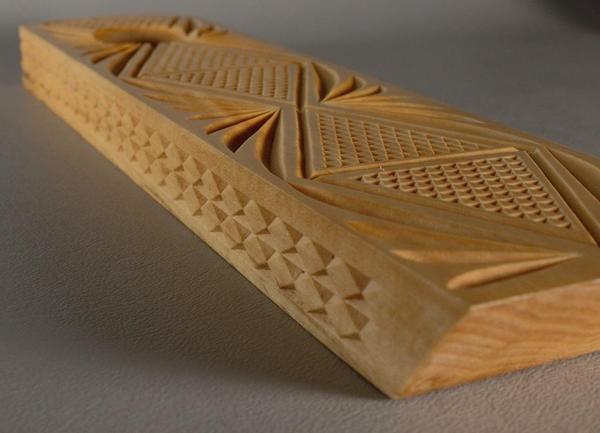
This month's pattern is Back-to-the-Basics!
All of the 2
and 3-sided chips are carved in the Swiss Style, which means all of the cuts are made at the same angle!
Last week I showed you how the pattern progressed from "clunky" to refined.
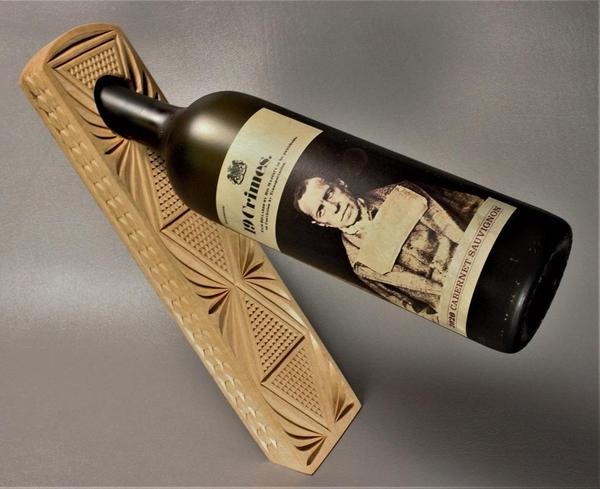
If you're wondering how long it took me to chip carve this Wine Bottle Holder, I happened to look at the clock, which is not too common for me. Start to finish was about 3-1/2 to 4
hours for the carving.
Here it is!
The finished piece has a good balance of large and small chips. This along with a quick finish of sealer and matte acrylic should draw the viewers eyes to the chip carving when displaying a bottle of wine.
If you aren't a wine drinker, I bet you can think of someone you know who'd enjoy this unique item. Give
it a try! What a great way to practice the Basics of Chip Carving!
In August, Shelley and I are taking our kids and grandkids to Guatemala on a semi-mission trip to show them where some of us have been before. Shelley and Paul were there several times and I squeezed in two times to help with some construction
work.
Our friend, Luis, has set up some events where we can help along with a time where I can teach some carving.
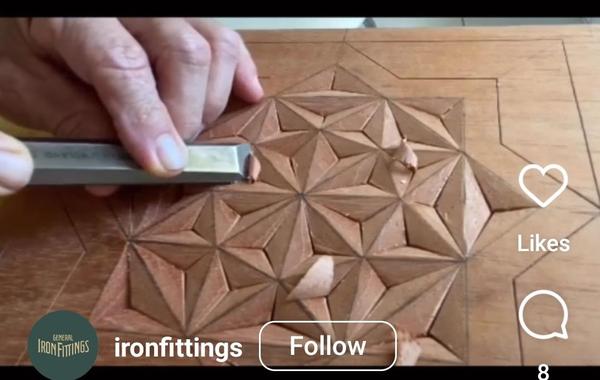
One afternoon I'll meet with a group of students to show them the style of chip carving that Sergio Monteiro de Castro does with a chisel. (see image below)
I don't know what access they'd have to a wood soft enough to carve with a hand knife like we do so I thought it best to go with the chisel method.
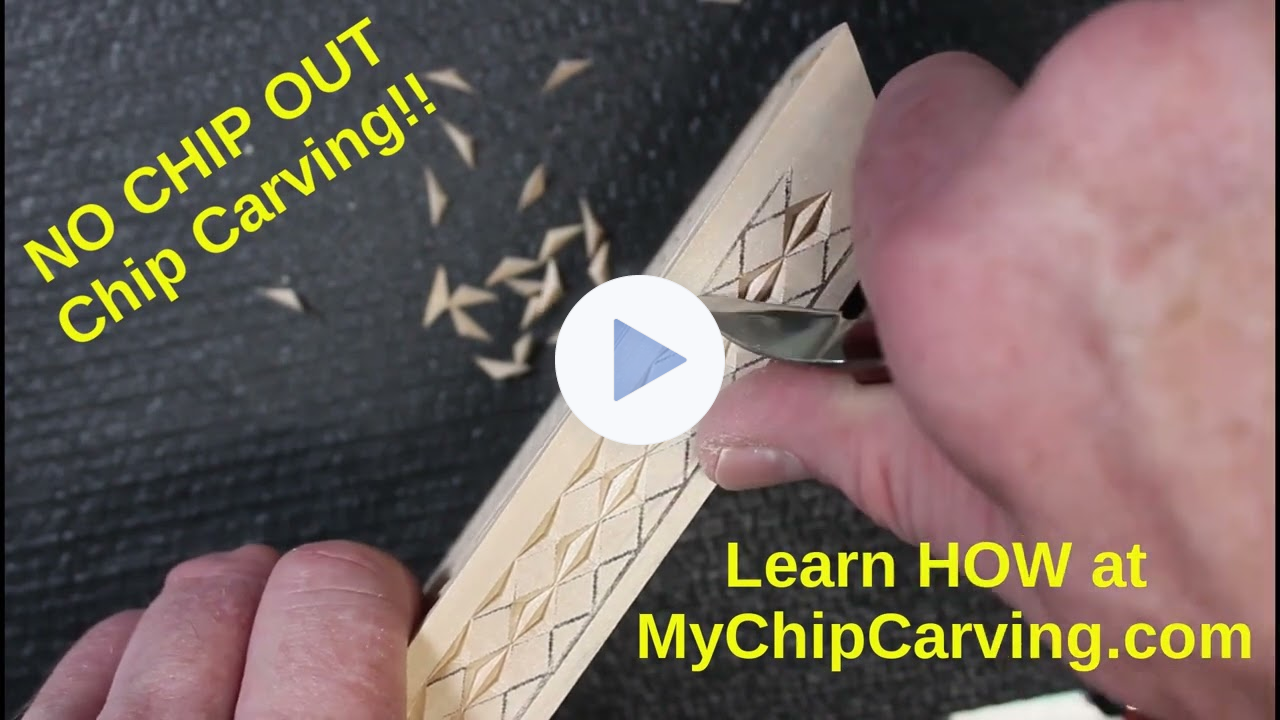
Next Tuesday's Platinum Member Webinar I'll demonstrate this method. It will help me practice as it's new for me. It's similar to Geometric carving that we did last month, the difference being using a chisel and mallet rather than a knife.
The focus of this lesson
is how to avoid chip out when carving this pattern. I'm sure you'll learn a lot and get some good reminders if you've already completed the Chip Out Course!