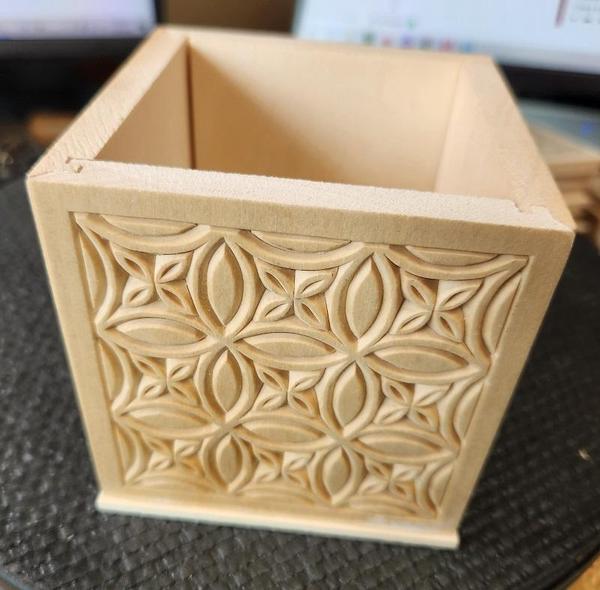
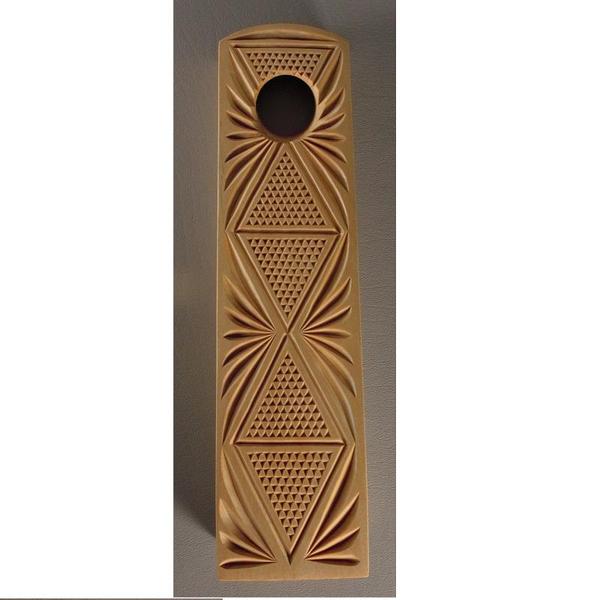
This month we've been thinking about the Basics of Chip Carving. The new Wine Bottle Holder project for July is perfect in that regard because it consists entirely of 2-sided and 3-corner chips!
I've spent some more time developing the lessons for the NEW Positive / Negative Image Chip Carving Course, and some of these patterns consist of just the basics as
well.
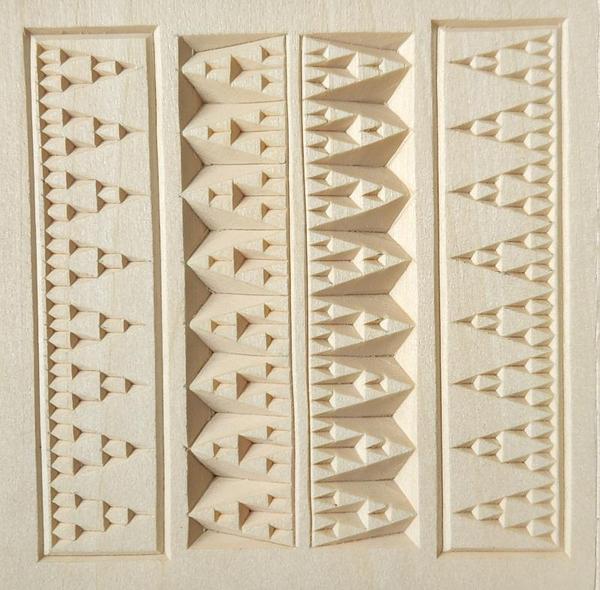
These borders, positive for the two in the middle and negative on the outside, are entirely 3-corner chips apart from the border lines.
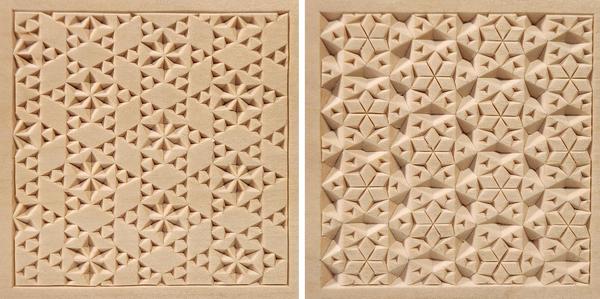
This pattern has both the negative and positive in the same pattern!
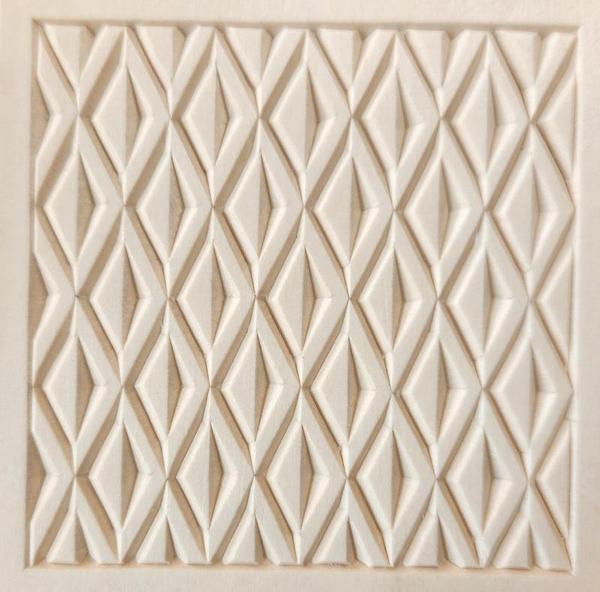
Negative 3-corner chips on the right and the positive mirror image. Carve some 2-sided lines and you've got a beautiful grid!
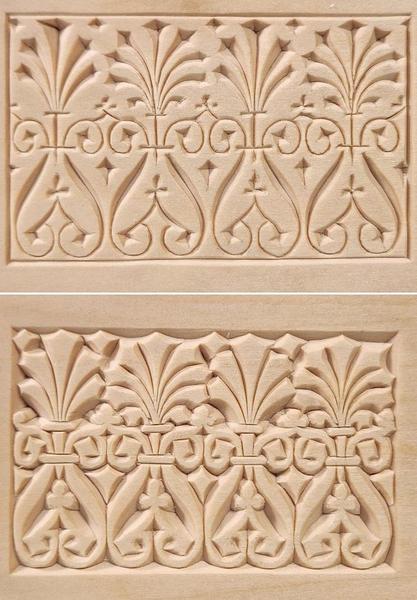
There are patterns to challenge all levels of chip carvers in this Course.
Master the basics and move ahead to some of these!
The first eight lessons are posted for this Positive / Negative Image Carving Course.
Every 4 patterns come in an easy-to-assemble locking corner box, available in the MyChipCarving Store.
I’ve been quickly reviewing your courses, to see
all that’s available. A fantastic job that you’ve done! Its going to take months, if not years, off my learning curve.
Every video is packed with little Ah-ha! moments.
I’m not really interested in lettering, but your Lettering Course is packed with vital information that I can apply to all manner of other carving that I’m doing. Great job.
Wow!! I couldn't have said it better! Thanks, Gary!
The Essentials Course and ALL Courses, Videos, Patterns along with the Monthly Webinar is included with your Platinum Membership!
Q: Step 1 - The burr is obtained on one side of blade on the 1200 grit and then I make 10 passes on each side, then 9
down to 1.
Step 2, 3, 4 - make 10
passes on each side, then 9 down to 1 on 2400, 4500 & 8000.
I don’t need a burr on 1800, 2500, and 8000. Only on 1200. I can get a burr on 1200 but not the others.
A:1200 grit, 10 stokes
on each side of the blade to form a burr. If you have a burr then you start counting down. The burr will get finer and finer as you count down.
1800 grit there will still be a burr but you may not be able to feel it. Count down 10-1
Same with 4500 and 8000 grit. you won't
be able to feel a burr because the edge is getting sharper and sharper. Final step is honing with a leather strop, count down 10-1 and then you're Scary Sharp!!
Reply to Answer: Good. That’s what I did with all my knives (OCC, Helvie, BeaverCraft & your knives) and they are the
sharpest they have ever been. I can’t thank you enough for your scary sharp system. Sharpening has always been the hardest part of carving.
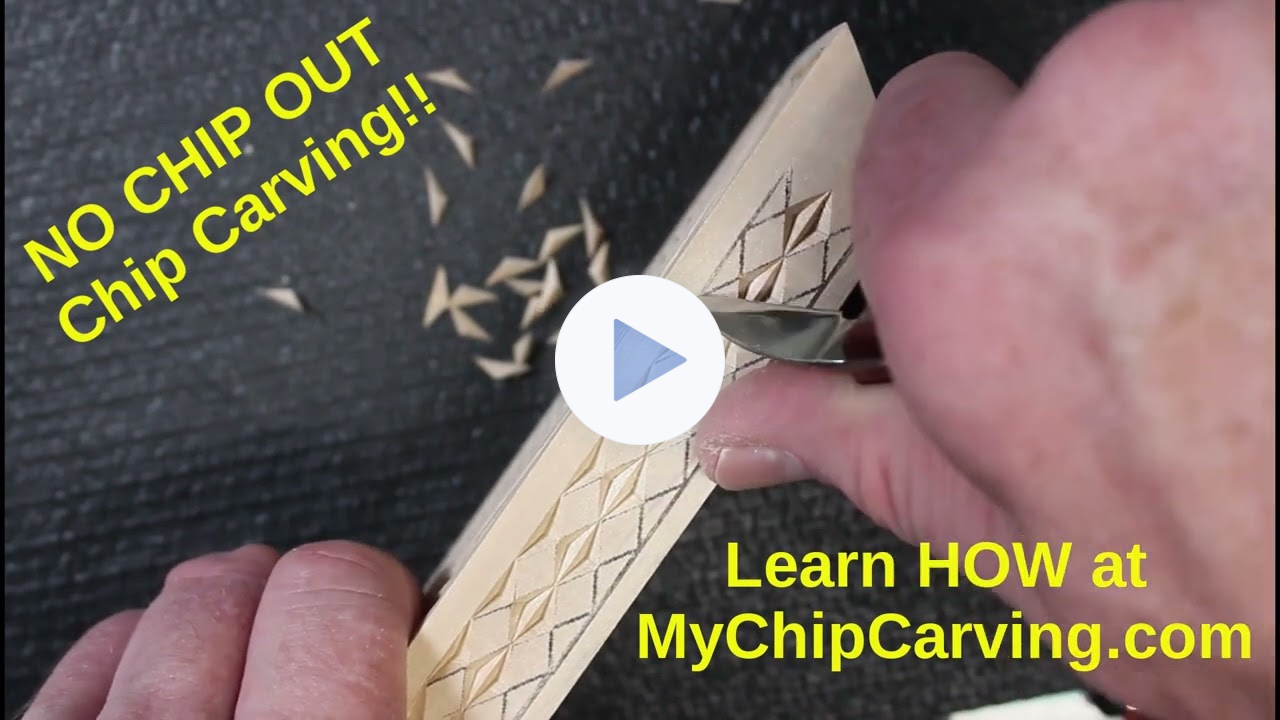
The focus of this lesson
is how to avoid chip out when carving this pattern. I'm sure you'll learn a lot and get some good reminders if you've already completed the Chip Out Course!