It's been over 16 years since I launched MyChipCarving with my down and dirty Front Page website and PayPal Store.
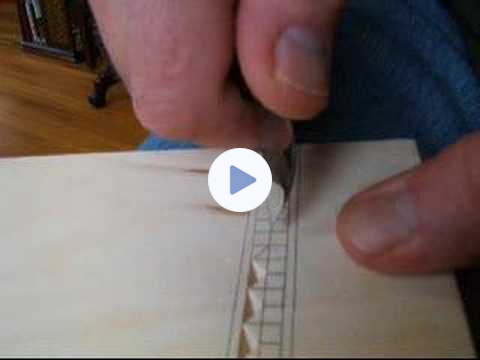
Not long after this launch I started creating videos on YouTube
from an old laptop with the webcam pointed down as I carved. Check out my very first YouTube video!
Blurriness and all, MyChipCarving was on its way. 🤣
Note: It's been a long time since I taught this "second position" cut for 3-corner chips and holding the knife with your thumb on the spine.
Fast forward to today.
I knew down deep that there'd come a time when I would pass on this enjoyable and rewarding work to
someone else. That time is now!
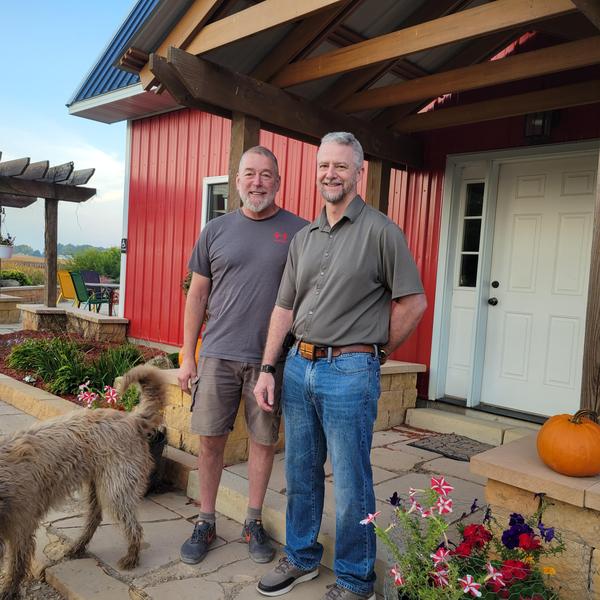
I'm pleased to introduce you to the new owner, boss, CEO, head-honcho and bigwig of MyChipCarving, Troy Nelson!
There were several qualities that I was looking for when it came to selecting a new owner. And Troy checked ALL of the boxes.
✅ Continue to serve and care for all Members
✅ Know how to teach
✅ Have top notch chip carving skills
✅ Willing desire to learn
✅ Woodworking experience
✅ Continue MCC Knife production and distribution
✅ Keep the Store in operation
✅ Continue to serve and care for all Members (repeated on purpose)
All of these qualities revolve around the core principles of MCC since day one - "To inspire, instruct and
equip chip carvers around the world."
Troy is committed to these principles! And this means the world to me. I know he will inspire you in ways I haven't. His instruction will hit on new aspects of chip carving as he creates monthly videos and patterns, along with new Courses that he develops. And he will continue to equip you with the absolute BEST Chip Carving Knives on the market today along with top quality
basswood projects, boards, Scary Sharp Sharpening Kits, etc. etc.
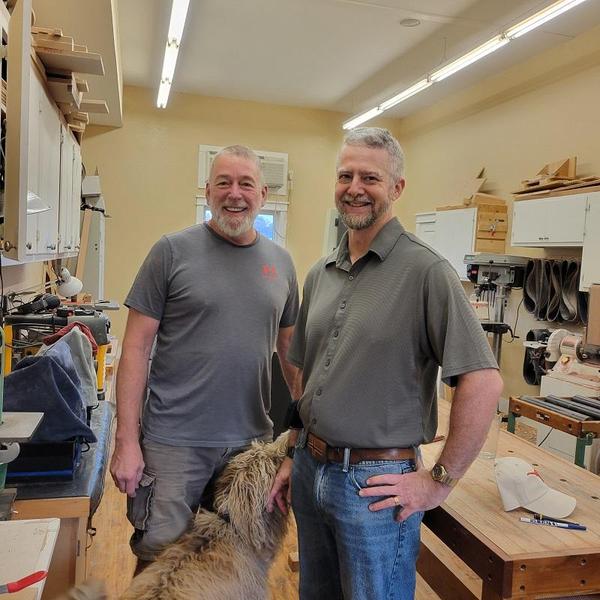
Troy's willingness to learn was demonstrated when he joined me for several days in my shop to learn the Knife making process.
I'm so pleased that God brought us together. My confidence couldn't be higher that he's the man to take MyChipCarving into the future.
, you've been so gracious and patient with me since I've known you and I'm sure you'll be the same with Troy as you get to know him.
Next week, Troy will introduce himself to you so you can get to
know him better in preparation for him taking the reigns on January 1st.
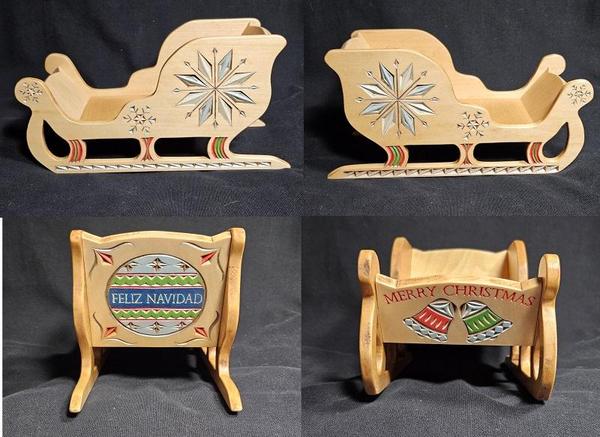
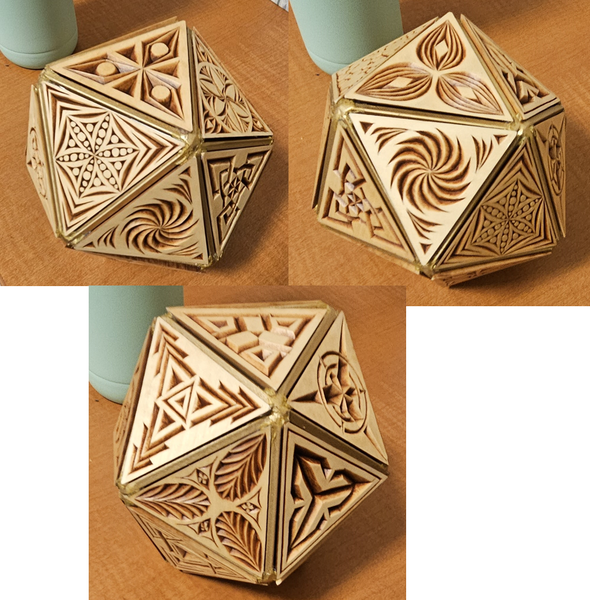
This year's Christmas Sleigh was designed by Troy. Here's his finished Sleigh along with his 20-sided sphere he carved earlier this year.
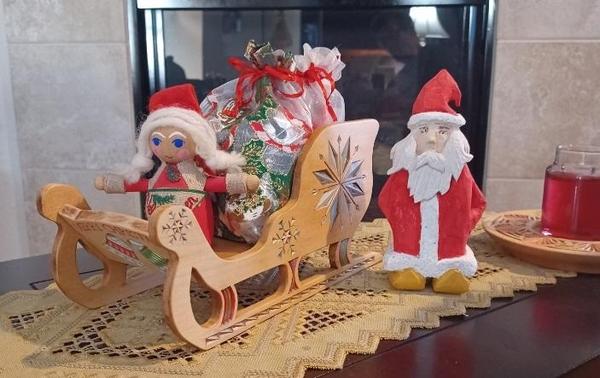
Hi Marty, Finally finished up my sleigh along with some other ornaments and figured I'd share the results. I tried a different color scheme but also added stain over it to help 'tone' things down. Was happy with the results and also know exactly who will be getting this. My Mom loves Christmas decorations.
Look how nicely Troy's mom filled the Sleigh!
Hi Marty,
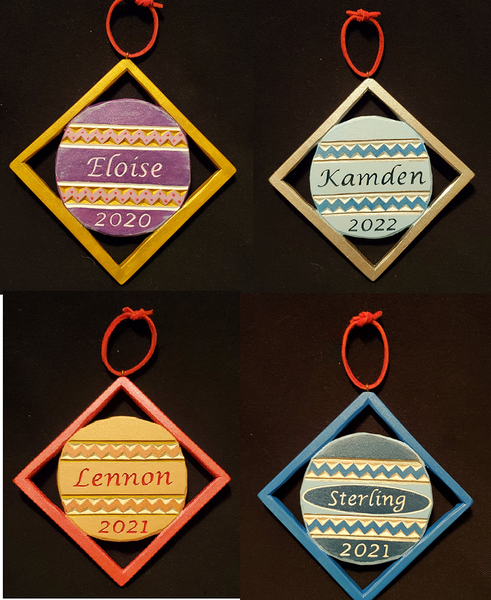
Thanks for the kind words. The back sleigh design is one I've used for a child's first-year Christmas ornaments, so I've done a handful of them with various color schemes. I initially painted the names and year, until I watched the videos on lettering and got a little more experience and confidence to try it on an ornament.
Troy's 20-sided sphere is now proudly displayed in his daughter's dorm room.
Stay tuned! This is an exciting time for all of us!
Brian asked 2 questions you might have
Hi Marty, A couple questions: when using my strop I tend to get a chunky covering on it when applying the compound. Is that normal? Also, with butternut wood, what color gel stain do you typically use? Thanks! Brian
Hi Brian, I'm glad to see you're putting your strop to use! When it gets clumpy you can either scrape it clean and start over OR apply more compound especially in the empty spots until it evens off. To scrape it, roll your knife over and use the spine. Do this over a trash can as it gets pretty messy. Eventually you'll have a smooth layer of compound on your strop and you'll be all
set!
It's really up to you as to the color of gel stain to use on butternut. It's already darker than basswood so keep that in mind. You may want to consider just using gel stain in the carved recesses and wiping off the surface. Seal it before staining. That will avoid the entire piece becoming too dark with your carving disappearing into the background.
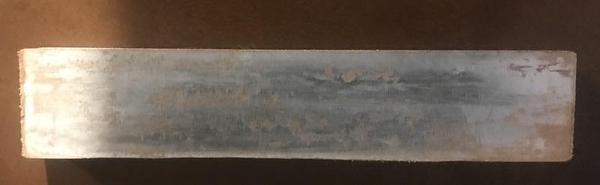
I was buying some live edge basswood plaques at Menards a while back and grabbed an oval shape out of curiosity. I carved most of the rectangular versions and was looking for another project when I came upon the oval and thought "hmm...this might be fun to do". So, I proceeded to put a pattern on it and get it humidified. In just a couple of days
it was well over 16%. As I started to carve the easy parts I noticed that the cuts were acting quite a bit differently than normal. I always strop my knife, especially the modified version, before I start and thought that maybe I didn't do a good enough job so I stropped it again. Still the same funny looking chips as I made the cuts. In the back of my head I could hear you reminding me over and over about paying full attention to the grain direction of the cuts and how to prioritize them. The
curvy cuts I was making weren't bad, but the chip valleys were hard to clean if they didn't come out clean at first.
After spending some time analyzing what was going on, it hit me! Take a look at the picture (no finish applied at this point). You will probably figure it out right away.
But, for me this was a revelation and completely new. I was carving END grain! Once I got that in my head I realized that I needed to
really sharpen my knife and strop it until it was fully and completely "scary sharp". Truthfully, if I had not humidified this piece and diligently sharpened the knife I would have had a complete mess. But, humidity really made the end grain pliable so I didn't have any messy chip outs. And, once the knife was battle ready, things went surprisingly well.
I am now in the process of finishing and the other thing I have learned is that end grain sucks up the
brush-on lacquer like a sponge, literally. I have put on three coats and I think it is finally ready for some color.
Lastly, I thought you would get a kick out of knowing that you somehow embedded your voice and wisdom into someone else's head. Sort of reminds me of the movie The Manchurian Candidate. Hmm...
Merry Christmas to you and your family,
Gary
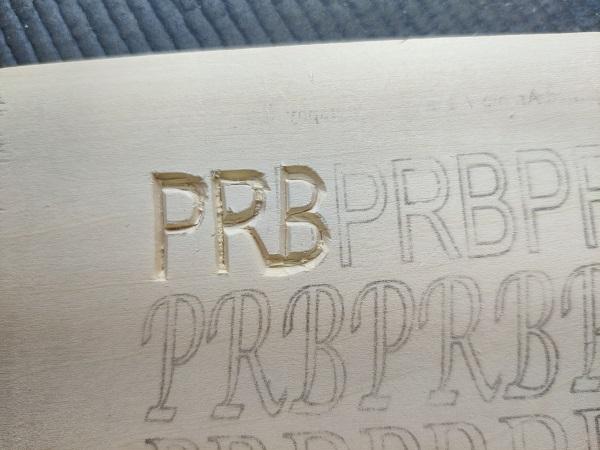
I forgot to include Fred's letter carving
work in last Week's email
Hello Fred! You posted your work. Huge computer step forward :-) I'm glad to see you're working on the Letters and Numbers Course. One chip (letter/number) at a time - self-evaluate - next one. You'll definitely want to use your Modified Knife and a turntable. Both make curved cuts so much easier. Keep at it! One letter at a time!