Carl and Jon's emails to me recently got me thinking about applying a finish to carved items.
While the Finishing Course covers this topic in depth, let's consider a couple of thoughts.
I've not changed my stance on the importance of a good finish.
"A poor finish on a good carving makes a poor carving. A good finish on an average carving makes a good
carving."
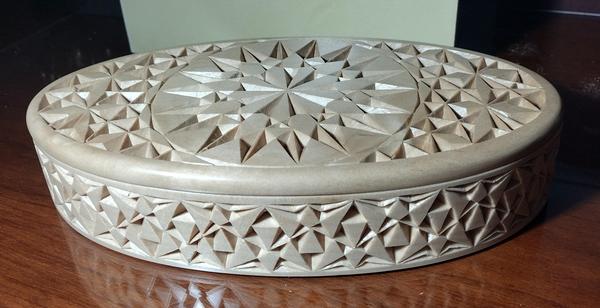
Carl has been working on an oval box project. Just before he reached the finishing application step, he mentioned this to me...
Making progress. I interpreted the top pattern a little differently and have two rings of positives. It took me a while to get up to speed, but I'm pretty much back
in stride now. The side carving took some getting used to. I told my daughter I started on the back side so the learning mistakes won't be so apparent! 😂
This is a way cool project, man. I had longed to do it for a while, but was a little intimidated by it. I agree with you it's the most attractive project in your store. It's a shame the machining production cost got out of hand. Thanks for developing such
attractive and challenging projects to support your community's development. You do a great job of stewarding the MyChipCarving members.
I plan on putting my standard Walnut stain and satin finish on the box. It just may have to go in my office to admire.
Because this box is relatively small and has a lot
of carving on the surfaces, I thought a clear finish would be best and suggested he consider that approach.
Reason being, staining will remove all the shadows and the carving will lose its intricacy and detail. The carving will sort of melt into a dark glob. Check out the results.
Do you see what I mean? Look at those rich shadows that highlight the carving and make for a great finished piece. Carl agreed...
Hey Marty,
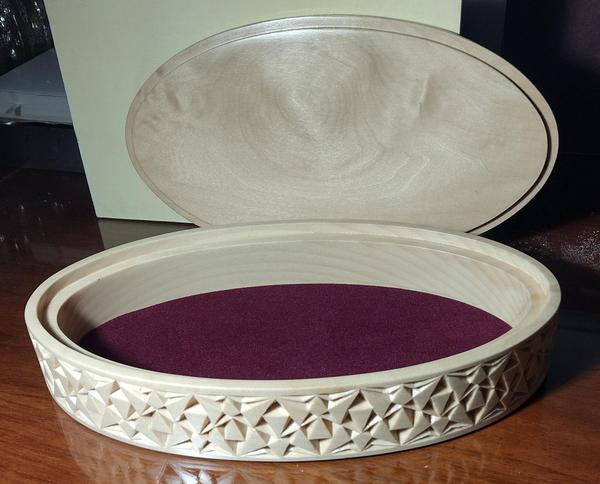
You asked, I deliver. Four coats of Deft satin lacquer. I have found that produces a beautiful and durable finish. Plenty of mistakes and flaws, even
in the finish. But then, I'm looking at the 98.7% beautiful and past the other stuff. 🤗
This is the first time I have finished Basswood raw with no stain. It won't be my last! Thanks for pointing out that the carving shows up better with lighter color, I appreciate your coaching.
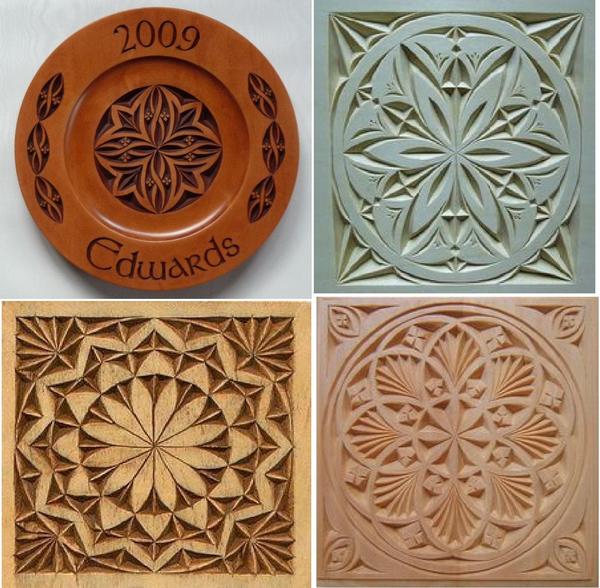
Compare these carvings, some stained and some plain.
This is not to say that adding color to your carving is wrong or bad. You've seen a lot of my carvings that I've stained and added various colors.
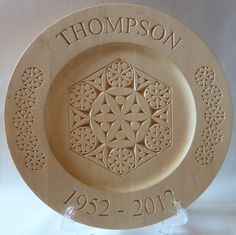
Look at this plate that I carved for Shelley's parents.
Looking back at it now, adding some color would have made the side border elements stand out more. Or...adding some larger chips to those elements would have increased the shadows and made them more prominent. As it is right now, the plate border sort of fades away and doesn't draw the viewer's attention to the entire carving.
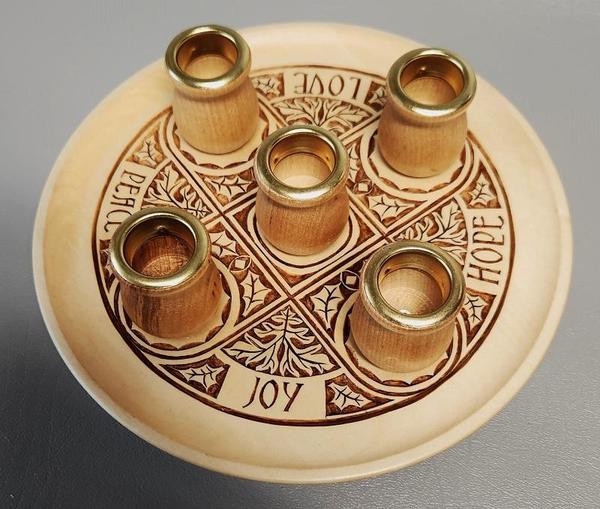
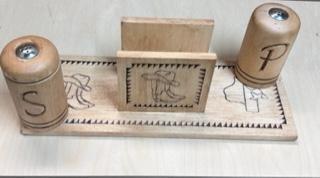
Here is my last weeks project. Combination of turning and chip carving. Kathy Roberts (Platinum Member, CCCI Graduate)
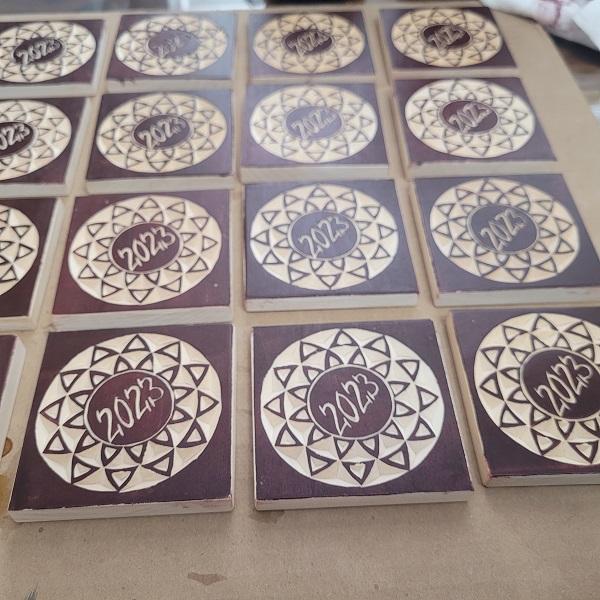
Jon is Experimenting!
Marty, I thought I'd try something to see how it worked out. I've liked the idea of staining before carving, for the reverse dark/light contrast. I still think it gives the cleanest look, but I wondered if there was a way to create the look after carving. The concept of block
printing using carved images is what triggered this idea. I purchased and used a brayer (rubber roller) and gel stain to coat just the top surface of these ornaments. I'll need to clean up the edges and some of the carved areas once the stain dries, and had to touch up some of the carved edges with a paint brush, but overall like this first attempt. One thing this brought very clear was where the edges of the chips were not perfect, and where the points don't come together - pointing
out the need for more "perfect practice". I'd love to know your thoughts about it.Hope you're having a good weekend! Jon (Platinum Member, CCCI Graduate)
Hey Jon, Good work trying a new finishing technique. It's always fun to experiment.
I've block printed a couple of my carvings and used a hard rubber roller and black ink. I was pleased with the results. The only thing I didn't like was "destroying" my carving.
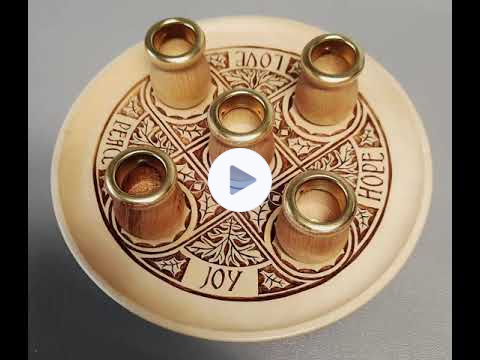
Guess what? I created a Platinum Member Video on Block Printing :-)
Click on the image to watch it.
You're definitely correct that a color on the surface will highlight the edges of all chips. Those that are crooked or the wrong size will show up clearly.
Well done!
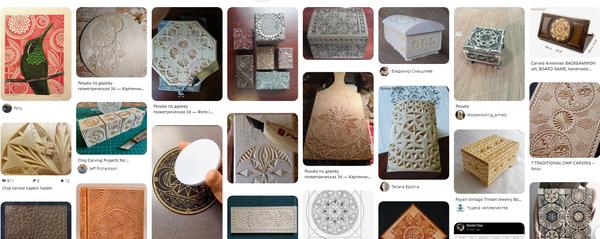
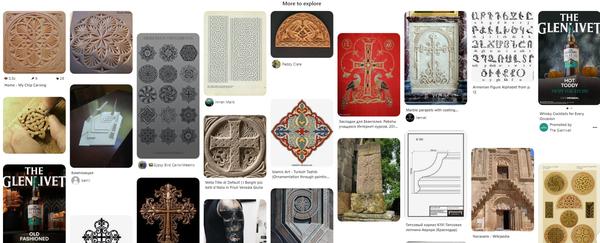
Pinterest Links
Kathy (longstanding Platinum Member) shared the following link to explore. WARNING: these links can lead you down some serious rabbit trails! Click on the image at your own risk.
I found this one after doing a little "browsing"
Check out this intro to the Finishing Course!
K
❗❗ Get FREE access to the Finishing Course
AND EVERYTHING else when you
join the Platinum Community ❗❗
Upgrade to Platinum
TODAY and get immediate access to this month's video, pattern and webinar replay along with ALL of the 180+ videos, patterns, courses and monthly webinar.