We've all been there...after spending hours carving an awesome project, you're finally at the point where you can put the knife away. And then it hits you...how am I going to finish it??😧
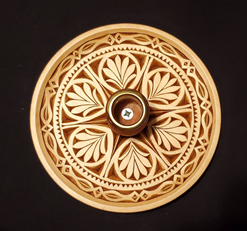
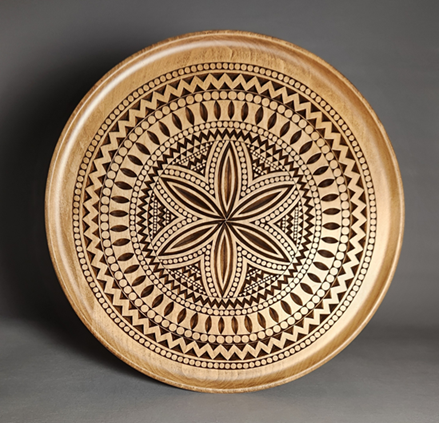
Do you leave it natural, stain, paint, or a combination of these options? This is, of course, a personal preference, but I wanted to delve into the topic a bit more. A few weeks ago I answered a question on finishing the 5x7 frames where I mentioned applying 2-3 coats of a spray matte acrylic and then applying a gel stain. This has been a favorite finish for me ever since I learned about it in the finishing course and tried it out on a candle plate:
I was struck by the contrast created by the valleys and the flat surface areas. But with different color stains available, it can be a challenge to figure out which color of stain to use.
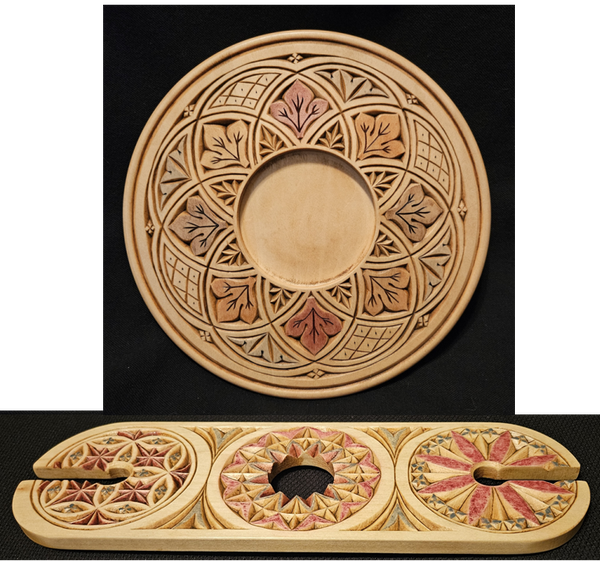
I've dabbled a bit in trying different stain colors on the same carving, and have liked some results(top plate) more than others(bottom pic).
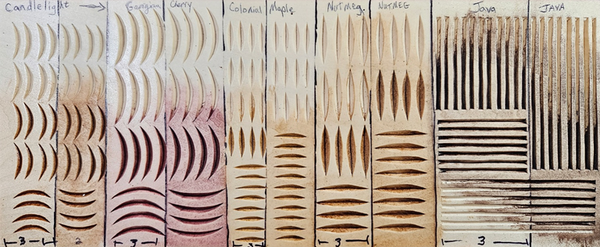
One thing I found that helped me out with making decisions on color was to take one of my completed practice boards and apply strips of 2 and 3 coats of spray matte acrylic, and then apply the various stains to see the difference between 2 and 3 coats, as
well as compare the colors to one another.
I used this particular practice board because it allowed me to see the stain in carved areas that were both with the grain and against it.
I hope you've found some of this information helpful! Next week I plan to go into adding paint.
February Project
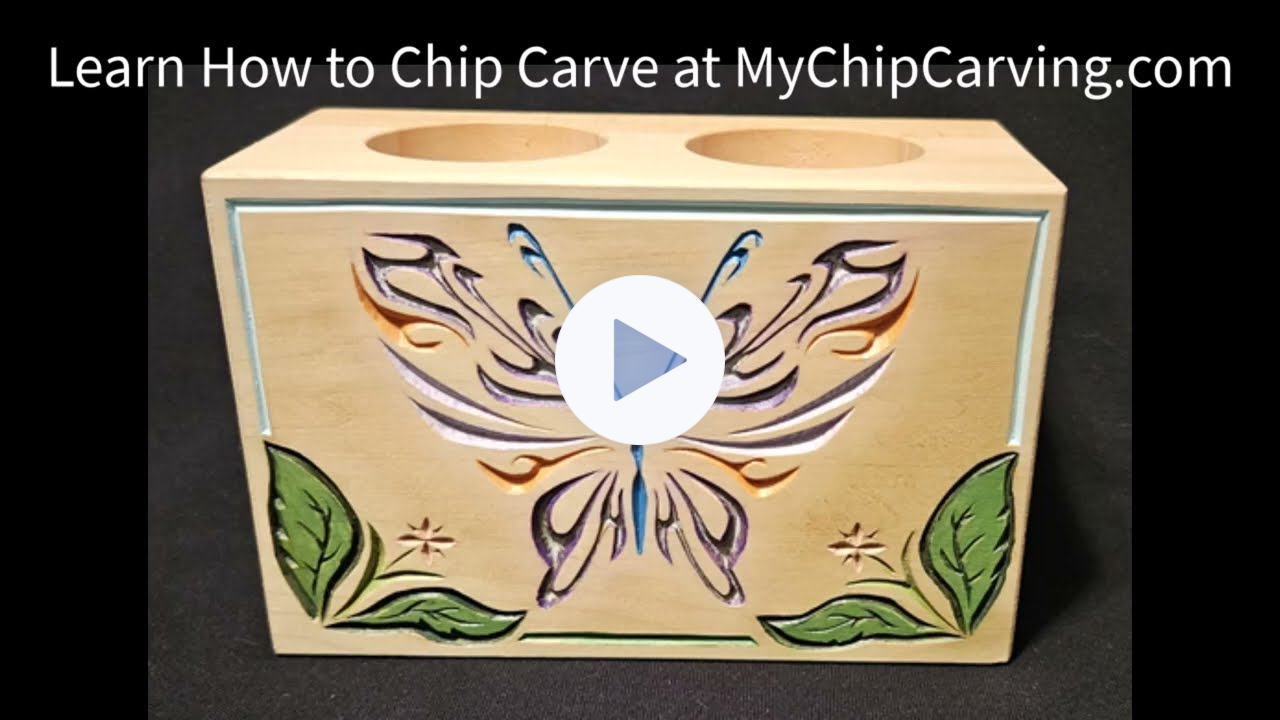
Double Tea Light Candle Holder
Free Form Butterfly
Take a
quick look at this months project, a double tea light candle holder with a free form butterfly pattern.
I decided to finish it with some acrylic paint and a light stain, but it will look great natural or with just gel stain - whichever you like!.
There's a product I wanted to mention to you with regards to staining projects. I know that sealing first, then gel stain is an approach Marty recommends. I also found a good Minwax product, Pre-Stain Conditioner, available in both oil based and water based versions. I learned about it
working on the rocking horse, which I made out of pine. Then I tried it on Basswood and was very pleased with the results. You apply it, then stain within two hours and it is designed to even out the application to avoid blotching.
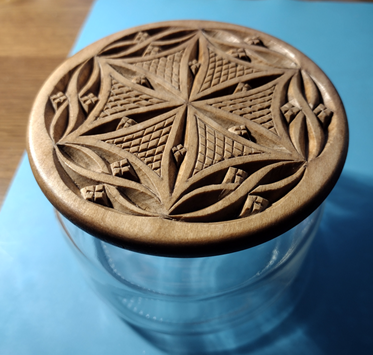
I've found the oil based product works better with some stain colors than others. Yet with my favorite, walnut, it tends to work really well. Here's a pic of the candy jar I finished using the conditioner and liquid stain, instead of
pre-sealing.
Best regards, Carl
Thanks for offering up another option, Carl! It is an nice even finish, and a beautiful color. I'd probably go with the oil-based option, too. The water-based option could potentially warp thinner items.
If you've been wondering what Marty's(MyChipCarving founder) been up to...
Troy,
I'll share with you this commissioned plate I just shipped off to a Platinum Member and friend.
The pattern is in the
Pattern Archive, called Clothes Beater.
This is a 14" scoop plate.
Keep on!
Talk about finishing strong!! Looks like Marty is adapting to retirement pretty well, and keeping his knives scary sharp!
What are your latest projects? I'd love to see them! Send them to me at: troy@mychipcarving.com