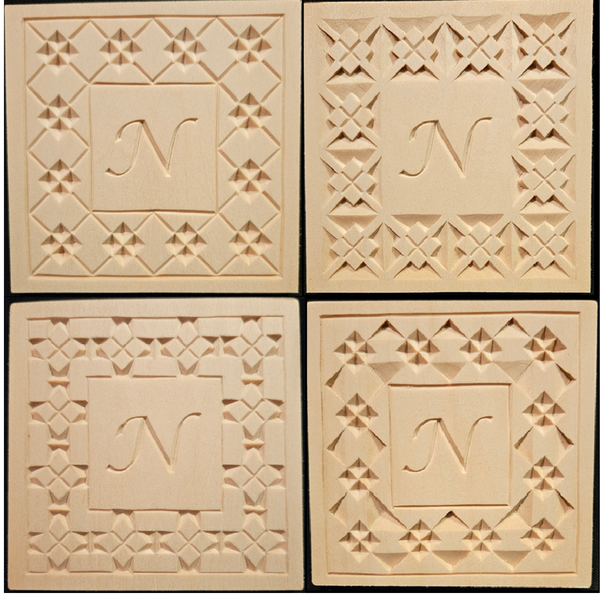
When it comes to carving patterns, do you prefer positive image patterns or negative image patterns? If you're wondering what the difference is please continue reading.
A positive image pattern requires you to carve the areas around the pattern, leaving the design uncarved.
While a
negative image pattern is achieved by carving the design into the wood (removing the wood) to create the design.
Let's use this month's project as an example.
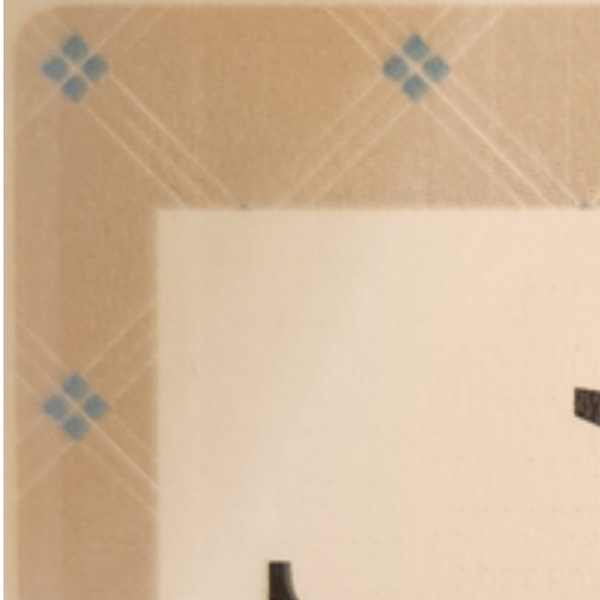
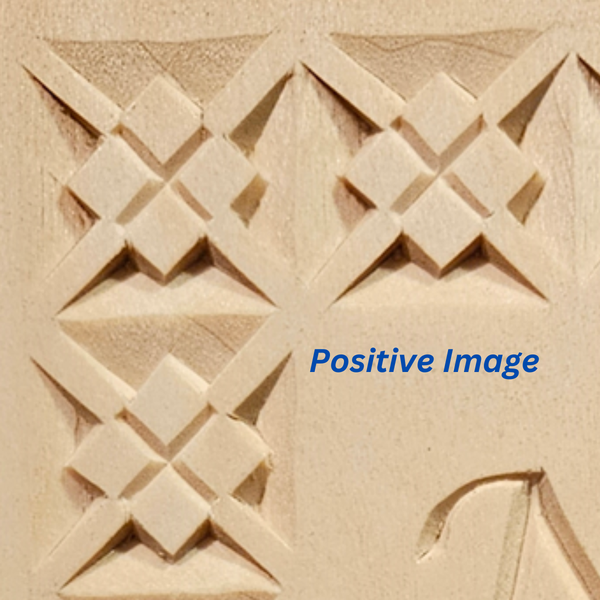
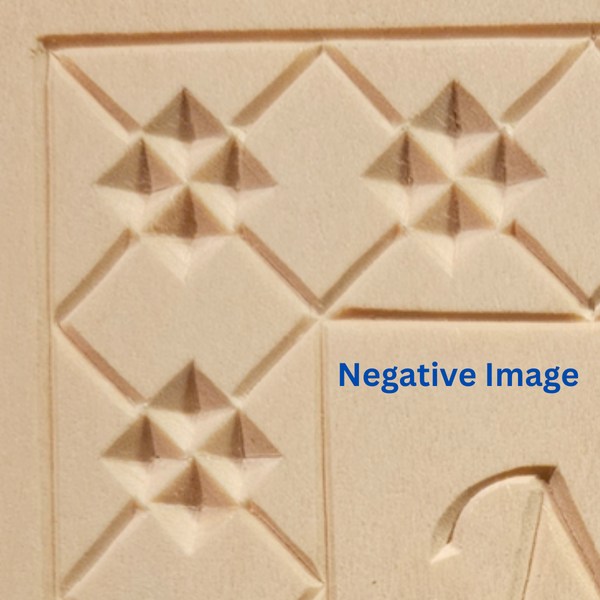
We'll start by identifying the pattern design as the diagonal lines and the groups of squares:
A positive image carving will create the design by removing the surrounding wood. You can see in the coaster below that the diagonal lines and squares are created by carving away the wood around them.
A negative image carving creates the design by carving it into(removing) the wood. In the coaster below the lines and the squares have both been carved, removing the wood where the pattern lines once were.
I'd say the majority of patterns that I've carved have been negative image patterns. However, there have been a few positive image patterns along the way, too. I've found the positive image patterns can be a bit more challenging at times since the wood being removed tends to be more oddly shaped, making it more difficult to figure out the cuts to make.
Even if you prefer carving negative image
patterns (like I do), it's still fun to look at patterns from a different perspective to see how else they can be carved. I enjoyed coming up with the patterns for this month's project because that's what I had to do!
Do you have any positive image carvings that you enjoyed?
Darlene's experienced carving several different woods
Howdy Troy,
I have carved many different woods in Low and High relief, in the round, Celtic and Scandinvian designs. As a kid, I whittled a kid's creation out of any branch or twig that came my way. (I grew up with a big, beautiful woods behind our home) Went to a carving show in my early 20's and was introduced to basswood and something other than a pocketknife. For most of my
patterns after that, Basswood was my first choice. Marty got me into serious chip carving techniques. I have chip carved in bass, butternut, walnut, cherry, sassafras, maple, pine, apple, olive, willow and oak. Oak was awful, the worst, and ended up in the wood stove. I only oiled all of them so the beautiful grain could be appreciated. Mistakes, yes, but I just changed the pattern a bit to accommodate them. Consequently, all my carvings have character! After the oil dried, (3-4 days
later) I used an acrylic satin spray to finish it off. In conclusion I would say that it was much fun to try different woods, but some I would honestly never do again. Dar
Thanks for sharing your experiences Darlene! It seems that oak is one type of wood to avoid when chip carving.
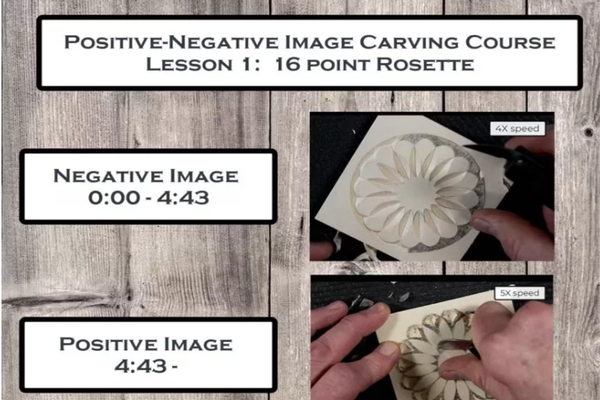
Did You Know?
There's a
Positive/Negative Chip Carving Course!
It consists of 20 Lessons: Chip Carving Positive And Negative Image Borders, Rosettes and Grid patterns.
More feedback on what grit to use for wood preparation
Hello Troy,
Your section on sanding grit took me back to one of my classes with Wayne Barton. Wayne recommended not sanding the wood at more than 220 grit as the finer grits would burnish the surface, impeding the finish absorption. I have found that to be the case, though I do use 320 grit between
coats for the reasons you list.
Doug
Thanks Doug for sharing. I'm glad we're all in agreement on using 220 grit for the initial preparation.
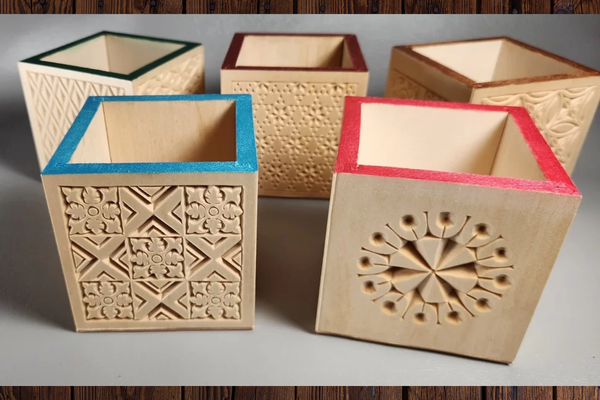
Need Positive/Negative Image Course Boxes?
Each basswood box comes unassembled as a Kit for easy carving.
After your carving is completed, the box is easy to assemble with household glue or super glue.