In this week's newsletter, I wanted to take a closer look at some of the carvings shared with me over the past few weeks.
The first is a great example of last week's topic on the differences between Old World Style and Swiss Style carving. It's a recipe box carved by Kathy. Here's what she had to
say:
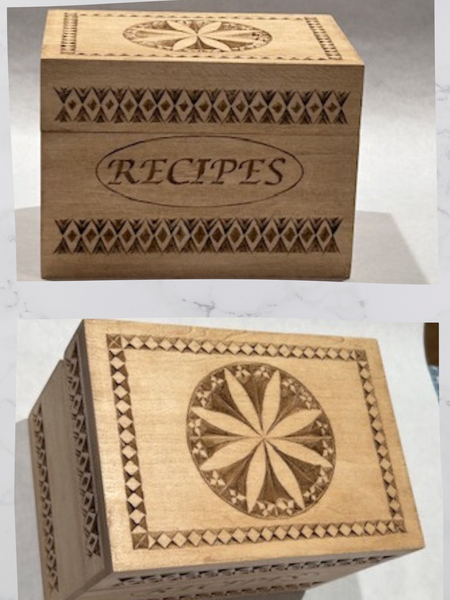
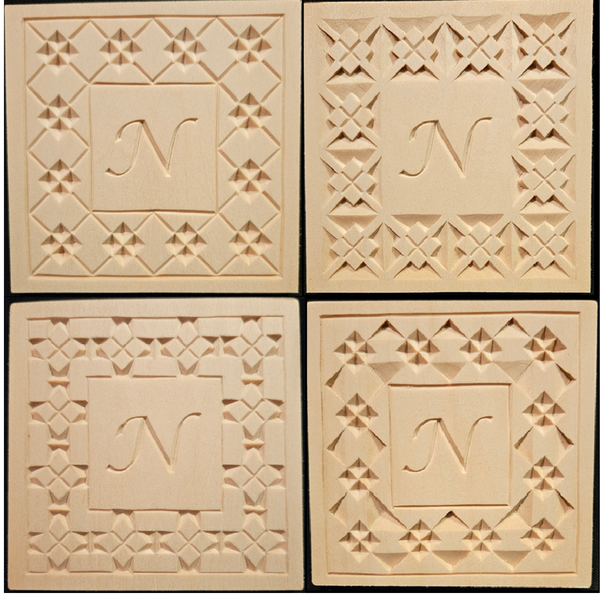
Hi Troy, You wanted to see what we have been carving lately? I have 3 of these recipe boxes and this is the first. I included both styles in this recipe box I recently carved. I like the lacey look of the layered Old World border to offset the traditional or Swiss style Rosette. Which ever you like best both are fun carving. It’s finished with light brown Briwax. Kathy
Well done Kathy! As stated before, I like the contrast in shadows between the two types of styles. I especially liked the finish as well and asked if any special technique was used. Here's Kathy reply:
I just use cheap Harbor Freight glue brushes to apply the briwax and do it just like I would apply gel stain, applying then wipe it off and brush out the excess and wipe it off
again.
Well, that's simple enough for me to give it a try! Thanks for sharing Kathy! 👍
The next carvings were sent in by Jon.
Good morning Troy.
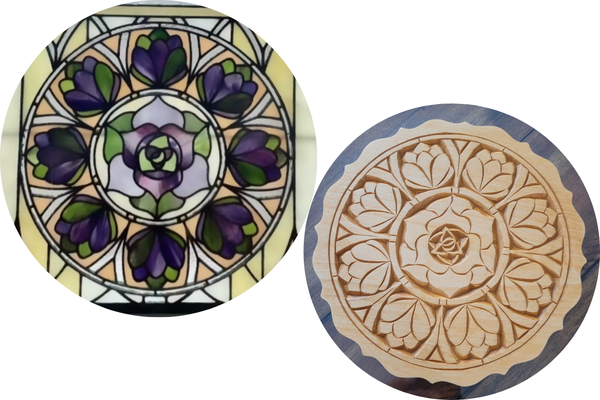
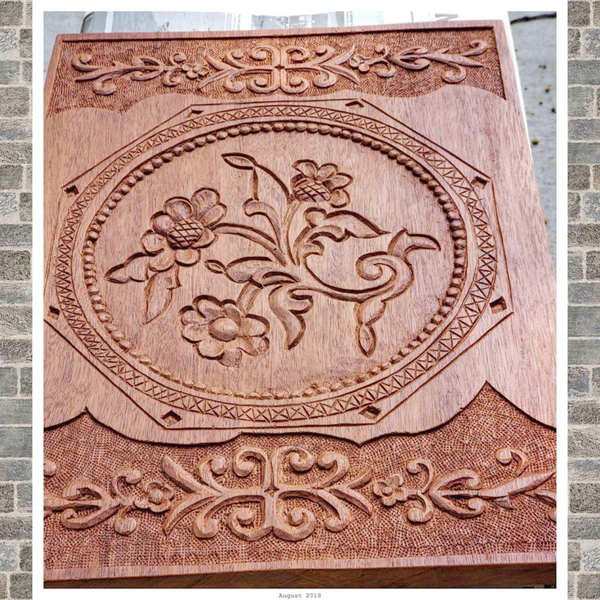
Our son Nathan created this pattern from a photo of a stained glass window. He used Amaziograph to do it, and has really become good at using the program.
I chose to carve it as a positive image, so that the leaves would stand out better. I've been considering painting the carving to look similar to the stained glass window.
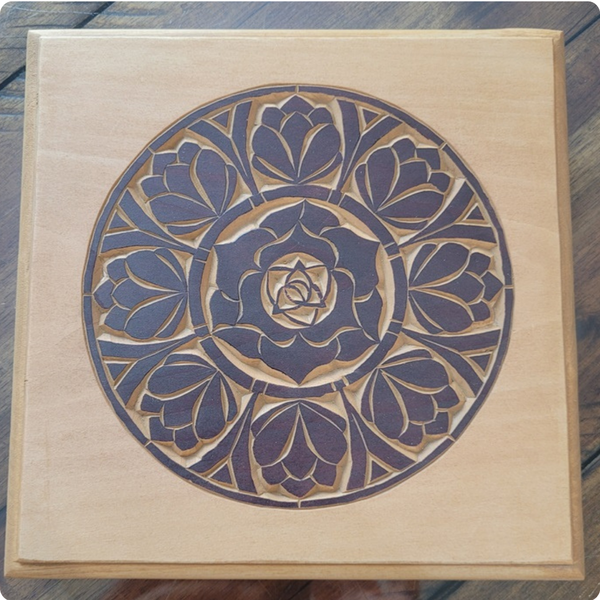
However, my experiment with staining just the carved pattern actually seems to distract from the carving, making it look too much like a printed image on the wood. I feel it would have been better to stain the entire surface.
What are your thoughts about painting it? Have a great day!
Jon
Jon hit on several topics that have been discussed in recent newsletters - patterns inspired by other objects, positive image carving, and various finishing techniques - a trifecta!😃
Awesome job creating the pattern using Amaziograph. If you've
never heard of Amaziograph, it is an app used for creating tessellations(mosaics) and mandalas(geometric/circular designs). I haven't used it myself, but it's on my list of things to try.
Jon did such a great job staining that I can see how it may be mistaken as a printed image. His comment about the stain distracting from the carving made me realize the shadows of the carved areas were being overpowered by the darkness of the stain.
Based on that
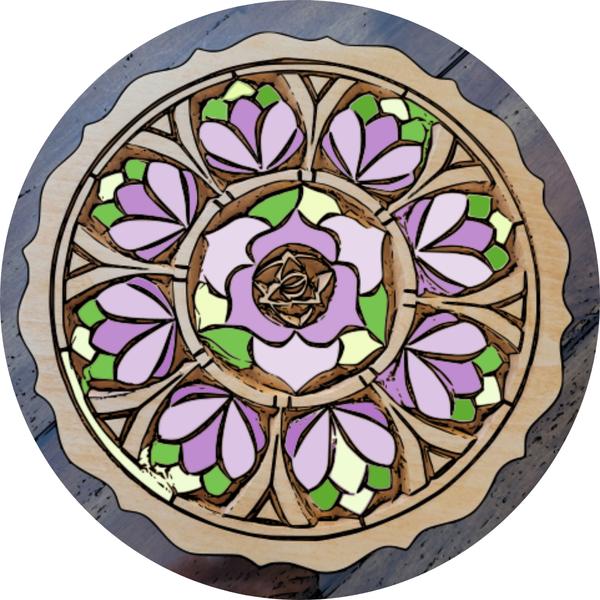
observation I suggested that if he were to paint it, I would use a mix of lighter colors, or pastels, that would be accentuated by the shadows of the carved areas. I then created an example of the concept by overlaying colors on the unstained picture.
However, I also told him I thought it looked great without any stain or paint, which may be the best option. Jon hadn't decided which way he would go with the finishing, but either way, he'll end up with a great looking carving!
What do you think - paint or no paint?
Do you have any past carvings that you would have finished differently today?
One of the most interesting woods I carved was African Mohogany. This is it's natural color. It's not straight grained like Honduran. You are going with the grain in one cut and a little further on it changes. It's also harder than any of the Pink varieites sold in big box stores. Those are barely harder than
basswood.
The hardest wood I've carved is white oak. My teacher Konstantinos Papadakis carved some hard maple and that wood takes detail like no other wood I have seen. It's also no fun to carve. He did a bishops throne in maple.
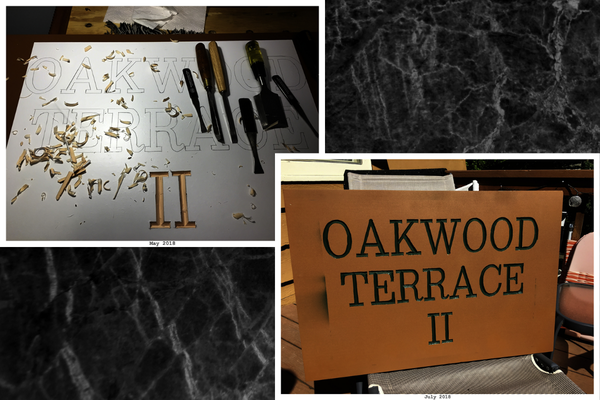
I don't do much chip carving but knew Marty and bought some of the plastic board (forget the name) to carve a neighborhood sign. I think
the sign is now 6 years old and the paint shows no signs of peeling. Not great lettering, but it was my first try at lettering.
Be well,
Ryan
Thanks for sharing Ryan! I like the rich color of the Mahogany. I can't imaging carving hard maple, that's a definite pass for me. 😉The sign came out great!