Curious About How Free-Form Turkey Carvings Can Transform? Check This Out!
Howdy !
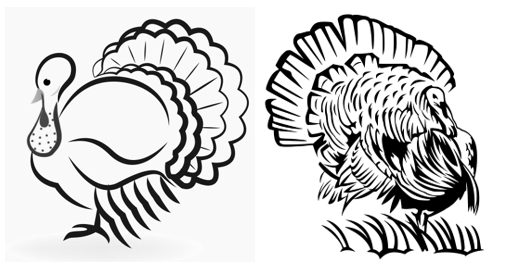
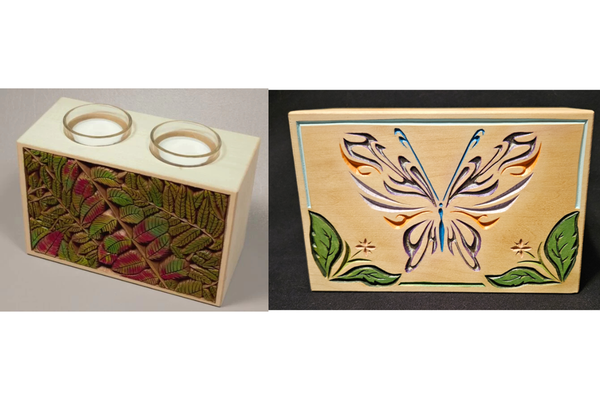
This past Tuesday I showed how to carve a turkey in this month’s Platinum member webinar. 🦃No, not a cooked turkey! It was a couple of free-form turkey patterns. I hadn’t carved a free-form pattern since the butterfly pattern earlier this year, so it seemed like the perfect time to do another one (or
two)!
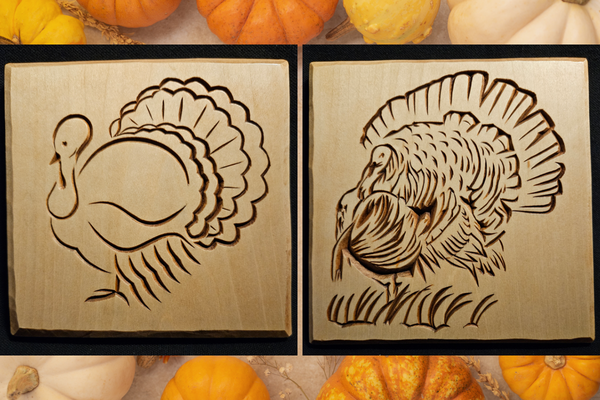
As you can see, the two patterns varied in difficulty, but both were challenging and fun to carve. I wasn’t able to carve both patterns in the hour-long webinar, but I covered the key parts of both as much as time allowed. Before signing off for the night there was interest in how I would finish the carvings and what they would look like, so that’s what I’ll share with you today!
I
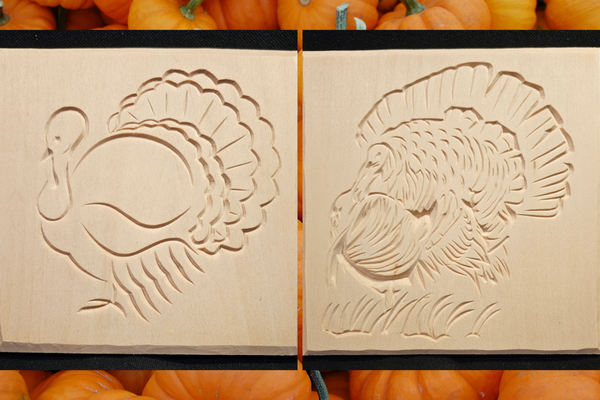
decided to apply 3 coats of spray matte acrylic and gel stain. Here are the carvings cleaned up, sanded, and pattern lines removed, ready for the first coat:
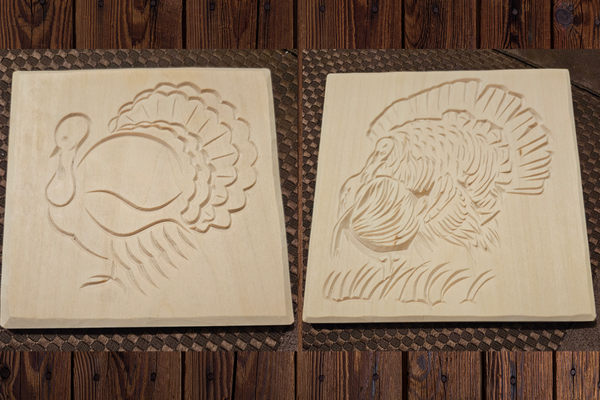
I sprayed one side at a time and waited 15-30 minutes between sides. After one coat there's a slight sheen, but not uniform:
In between the second and third coats, I lightly sanded the carvings with 400-grit sandpaper and then used a tack cloth to remove any dust. Sanding resulted in a smooth surface for the final coat and a uniform sheen.
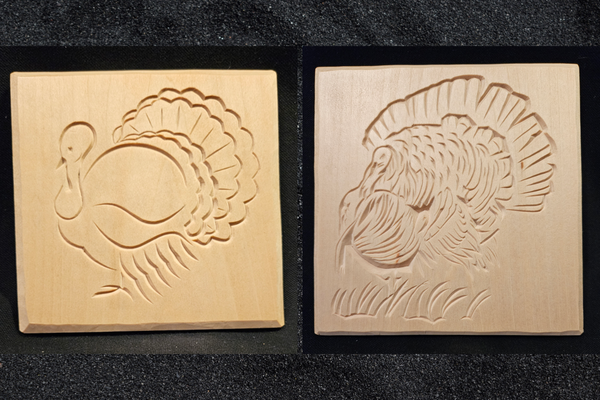
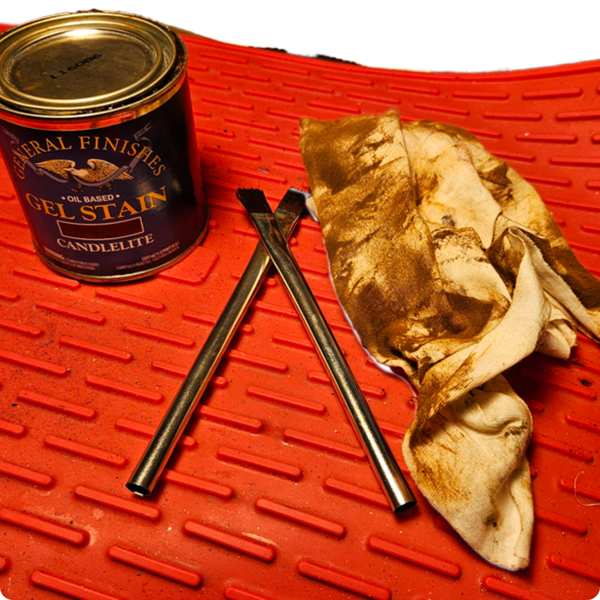
I applied General Finishes’ Candlelite Gel Stain to both carvings using a disposable glue brush. I brushed the stain on a portion of the carving and then wiped it off with a clean cloth. After wiping with the cloth, I used a different glue brush to clean up any gel stain pooled in the bottom of the carved areas and wiped with the cloth again.
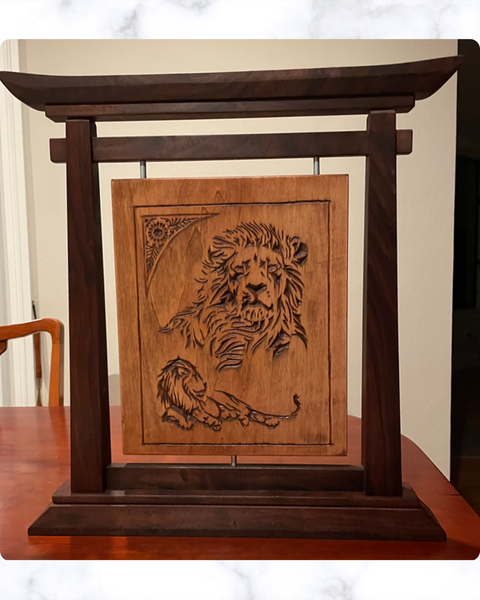
Here are the final results:
The only step left is to apply a final coat of spray matte acrylic to seal everything. There was concern that the larger chip areas may be too big and disrupt the rest of the carving on the more detailed turkey, but I was pleasantly surprised that the areas added depth and gave the carving an almost 3D effect. What do you think?
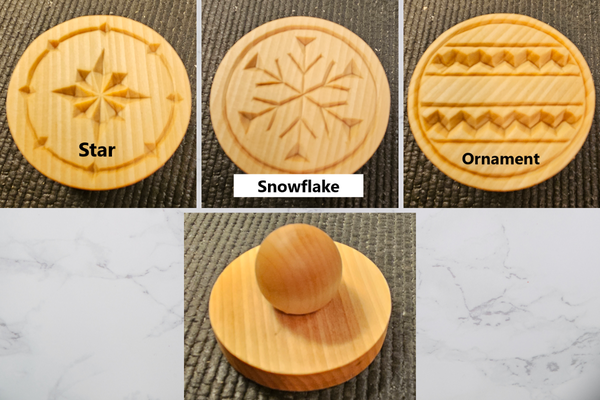
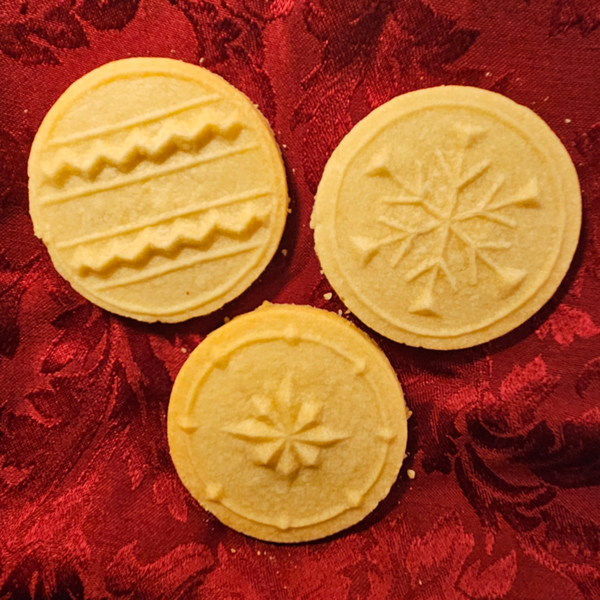
These cookie molds are a fun project that result in a sweet reward!
Each cookie mold consists of a 2.75" (approx.) circle of 0.5" thick basswood, with a 1.25" ball knob with a flat base.
After carving the design into the mold, simply glue the knob on the back and then apply a food-safe finish of your choosing. I used a General Finishes Butcher Block Oil that I already had on hand. It's
made from a white mineral oil.
You Can Order Cookie Molds blank or with a Pattern already applied!
Blank Cookie Molds are 1 for $7, or buy 2 for
$12.50
Cookie Molds with Pattern are 1 for $9, or 2 for $16.50