OK everyone, on three say “Cheese”, or “Money” if my mother-in-law is taking the picture. 🤣
With nearly everyone walking around with a high-resolution camera masquerading as a cell phone, it’s easier than ever to capture life’s moments. But what about your carvings? Do you take pictures of your projects before
sending them to their new homes? I haven’t captured every project I’ve done, but over the years it’s become more of a priority for me to do so. After spending so much time and effort on a carving it’s good to have it documented for several reasons:
Remember the projects you’ve already done in case you want to repeat them (or not). This can be good to keep track of if you end up carving multiple projects for members of the same family, whether it be wedding plates,
confirmation crosses, ornaments, etc.
Comparing finishing techniques – different stains, paint colors, or clear. You can see which projects still catch your eye or didn’t quite turn out as you had hoped.
Provide a gallery of your work to show others. Someone may ask you to carve something for them, or you may want to surprise them with a gift – showing them a gallery of your work will help identify the projects they appreciate. It may even spark
a new idea to combine projects.
A great way to see how your skills have progressed since you started carving!
If you aren’t already capturing pictures of your projects, I encourage you to make it a habit. You and your friends and family will be glad you did!
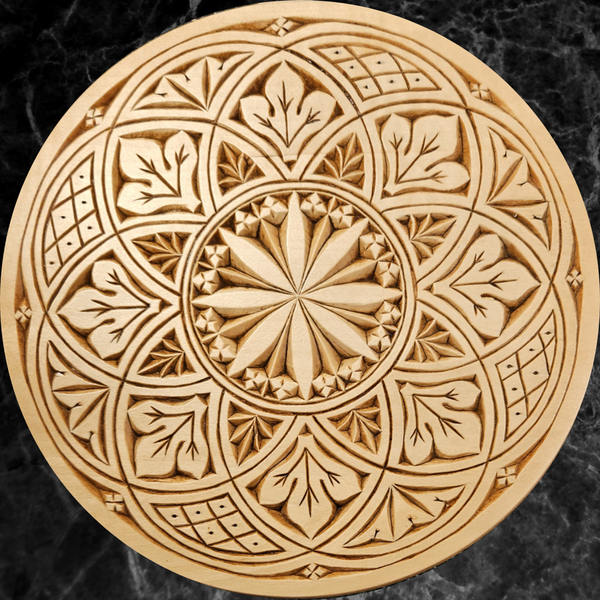
8 inch Flat Plate with 8 Point Rosette and Leaf Pattern
This is the same pattern I carved on my Vesterheim candle plate with the addition of the 8 Point Rosette. It's a challenging pattern, but one of my favorites! I hope you'll enjoy it too!
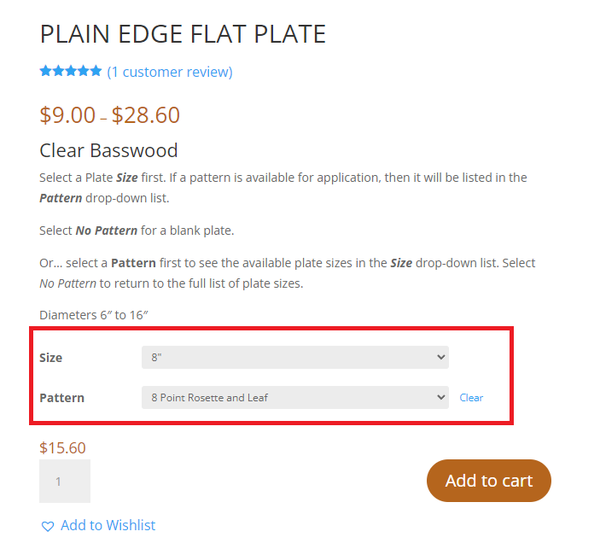
You Can Order Your Plate with the Pattern Already Applied!
On the Plain Edge
Flat Plate page, select a Size of 8", and then select the Pattern8 Point Rosette and Leaf.
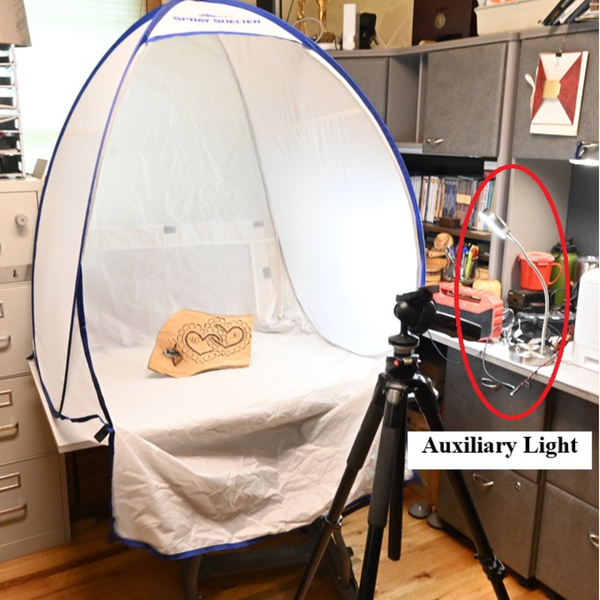
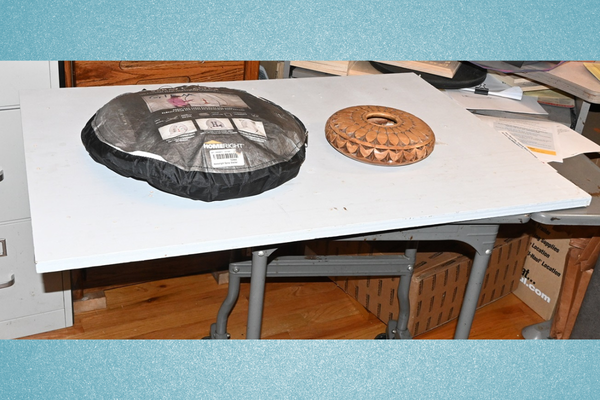
I often get questions about photographing my work. I use a spray booth that I purchased from Woodcraft.
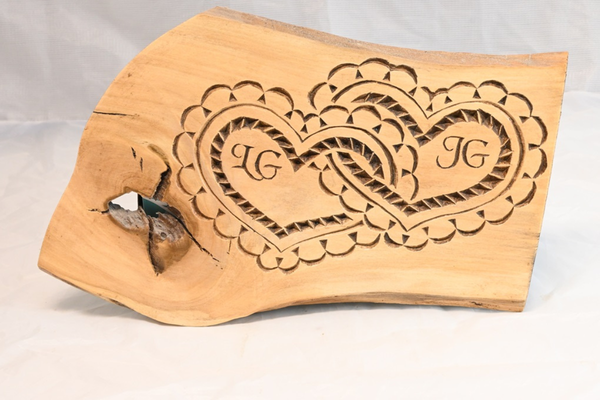
The spray booth is used as a light box to control the lighting, shadows and background. I used a tripod to hold the camera steady. Looking closely, you can see an auxiliary light to the right that was used to help control the light. I did not use a flash when photographing the carved items.
The other photo shows how the spray booth collapses into a small easily managed package.
Thank you for your email John! I also have the collapsible Spray Shelter, but never thought to use it for pictures. It works great for applying clear matte acrylic, and it looks equally good for photography!
Thanks for sharing your process of capturing your beautiful carvings.
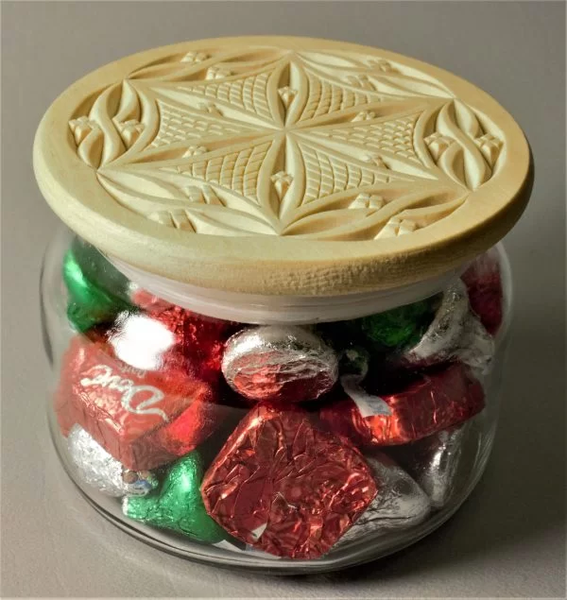
Candy Jars are Back In Stock!
These 10 oz glass Candy Jars have a clear basswood lid and the plastic seal with press fit easily applies after your carving is done.