I share some of the responses to last week's topic.
Howdy !
Thanks to everyone who responded to last week’s topic on 3D carvings! I’d say there may be a 3D project pattern coming in the near future. 😉
Here are just a few of the responses:
I’d definitely like to try a pattern like
this
I’ve also always been intrigued by 3D images but never thought of carving one.
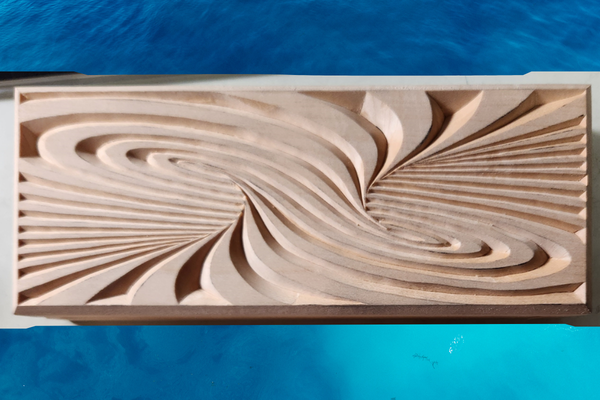
The Marty Leenhouts 3-D box top is great lookin’ piece. I have made a few 3-D type carvings and will speak from experience that there’s nothing simple about the carving process. The
issue for me was the task of preventing “blade chatter” when following a circular shape. The internal structure of the wood and the abrupt grain-direction changes often do not work to my favor. Sometimes the wood is simply not a really good (homogenous) piece of wood. It was/is a challenge… and I encourage others to try it. Perhaps theirs will turn out like Marty’s!
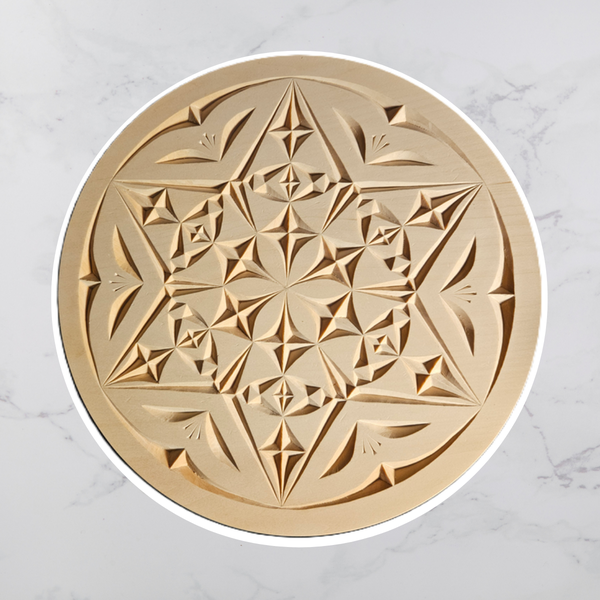
I think this last response emphasizes the inherent challenges of carving a 3D pattern. While a pattern may look like a collection of simple cuts, the twists and curves with changing grain directions can provide a fun, but challenging carving experience. Other types of 3D patterns may contain a lot of back-to-back chips where the focus becomes keeping sharp ridges and avoiding chip out. Keep reading further down
in this week’s newsletter to learn how carving 3D patterns helped improve one reader’s carving.
I also learned that 3D patterns aren’t for everyone:
To be honest, I do not care to do patterns like the top one you shared. Makes me dizzy to look at it. I have a lovely case of vertigo, so it doesn't take much.
I’d say that’s a pretty good reason for some folks to pass on 3D
carving.
Nevertheless, I appreciate all of your responses and look forward to carving a 3D pattern soon!
I'm always interested in seeing your latest carvings - 3D or not!
3D Carving helped Steve improve his traditional carving!
Hello Troy & friends -
I have been experimenting a little with op art designs with some mixed results. I did it mostly to get good practice on carving curves and delicate bits which tend to chip out easily if one isn’t really careful (I got a LOT of
practice repairing my chip outs early on!).
The best part is, after all these challenging projects, my traditional carving is now much better. My knife control has improved, my lettering is better, I experience much fewer chip outs (and when I do, I care repair them invisibly), and I’m much more confident taking on more challenging designs. They’re not perfect by any means, but I’m really happy with my progress. I just need more time to
carve.
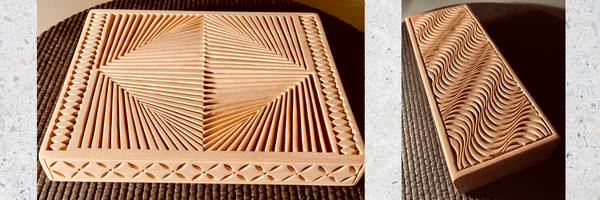
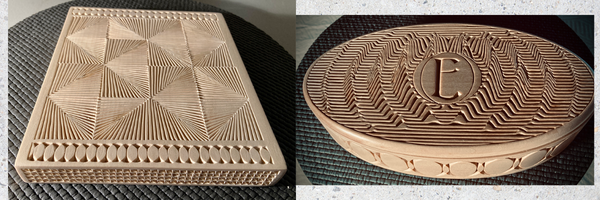
Here are a few examples. I started with straight lined designs on a couple of trivets, because that seemed easier to execute, then tried my hand at curved designs - first on the top of my knife storage box, then on an oval box lid.
Best regards & happy carving all!
Steve
Thank you for your email and sharing your experience and carvings! You chose some challenging patterns to 'learn' with, but the result was fantastic.It's good to hear how working on them improved your carving skills overall. You did a great job achieving the 3D aspect on the knife box and oval box carvings - they both look like waves and ridges rising up.
Thanks again
for sharing your experience - I appreciate it!
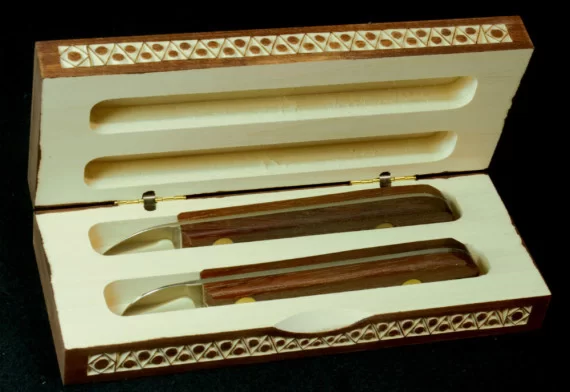
Do You Need a Knife Box to Store your Knives?
Look no farther! Check out the Basswood Double Knife Box. You can add your own pattern to the lid!