This past week, during the Platinum member webinar, inspired by Carl’s latest carving, I decided to demonstrate how to add color to a carving using colored pencils. It was a fun time with lots of good interaction. I’m sure I still have more to learn about the process, but here are the highlights:
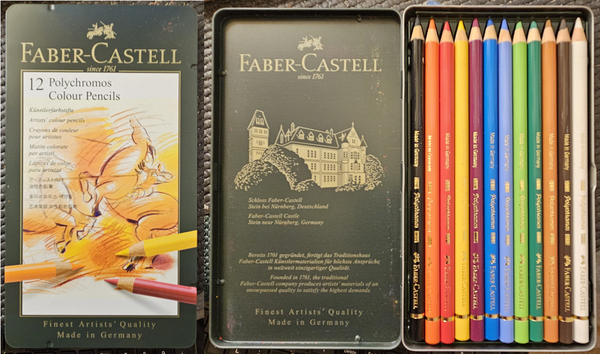
The color
pencils I used are Faber-Castell Polychromos Colour Pencils. These are high-quality color pencils with consistent pigment throughout. They apply color smoothly, evenly, and blend nicely. With that said, they may be a bit pricey if you’re only wanting to test the waters. Faber-Castell also has another line of color pencils called Goldfaber. I found them available at Michael’s craft store at a more budget-friendly price, and suspect they would also perform sufficiently. I’m sure other brands would
be fine, too. If you want to read a comparison between Polychromos and Goldfaber, check out this article on the Faber-Castell website.
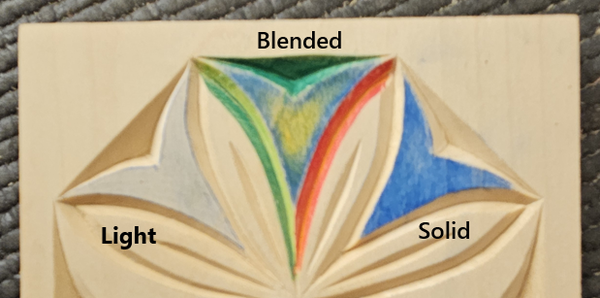
I used the pencils on bare wood. When painting, I always like to spray 2-3 coats of clear matte acrylic, but the color from the pencils doesn’t adhere well to the spray. I have not tried sanding sealer yet to see if it is compatible. A nice benefit to bare wood is that any stray pencil marks can be erased with a Tombow sand eraser!
To achieve a deep, solid color, hold the pencil upright and press firmly. For a lighter color hold the pencil more horizontally with lighter pressure.
Colors can be blended naturally using regular strokes, or the pigment can be blended using a brush with a variety of liquids. Carl uses artist’s turpentine, so I tried that first. It works well, but I found the fumes to be too much for my liking. The techniques guide that came with the pencil set recommended paraffin oil. I didn’t have any of that on hand, so I used mineral oil instead and was
pleased with the result. I really liked the result because it looked like it had been painted.
After coloring, I would add a coat or two of clear matte acrylic spray. Carl mentioned that he tried Minwax Polycrylic on one carving, and it dissolved some of the colors. I did not experience any issues using the clear matte acrylic spray on a test piece. Whatever finish you are thinking of using, I’d recommend testing it on a scrap piece
first.
If you are thinking of trying color pencils out, I’d say go for it! It may not be the fastest way to add color, but it provides a relaxing, controlled way to add color. If you do give it a try, I’d love to see the results!🙂
If you’ve recently finished a project or learned something new, I’d love to see it!
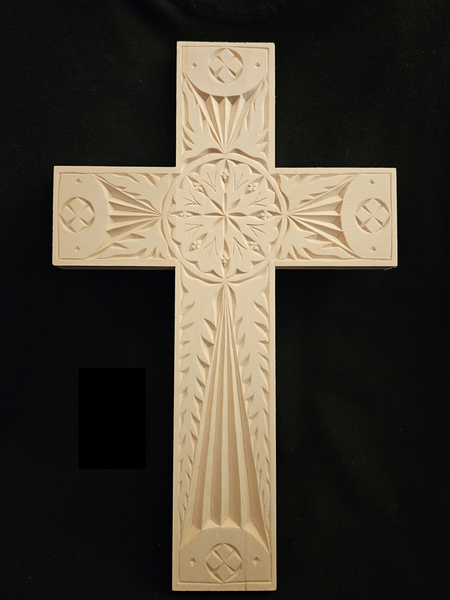
This month's project may seem familiar. In a previous newsletter, I shared a cross from Andrei featuring this pattern that he and his brother designed. I thought it was a fantastic pattern that others would enjoy carving, so I asked if it was okay to use, and Andrei graciously agreed.
The 9 x 14 Basswood crosses do not have any gaps between the upright and arms and are approximately 1" thick.
They are fun to carve and beautiful to display when finished.
Order a 9 x 14 Cross with or without the Pattern already applied!
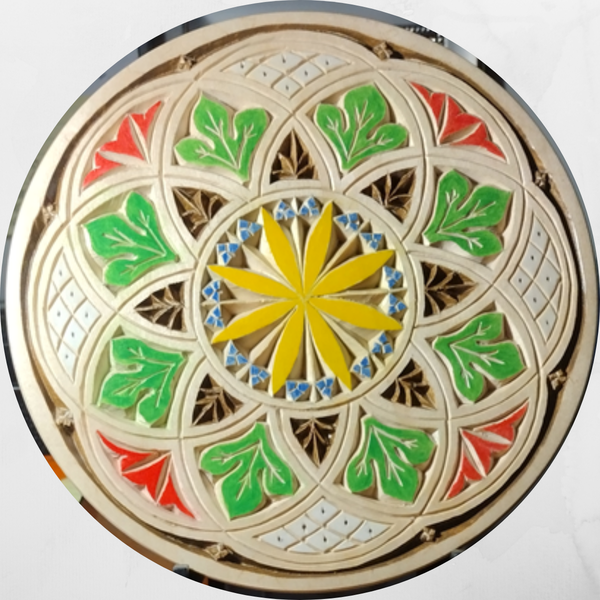
I liked your 8" plate project and bought one back in the Fall. When I saw it I imagined using my pencils on it. After the Autobot plaque, I was inspired, and finished the plate.
I am preparing to send the plate to my 5 year old granddaughter, Thomas' sister. Her birthday is in 2 weeks. The
package includes a 6" mission style table top easel. The plate also has a saw tooth wall hanging bracket on the back, and there's a wall mount Command hanger in the package.
Best regards,
Carl
It seemed fitting to include Carl's latest project since I explained the coloring process today. Another great job Carl!
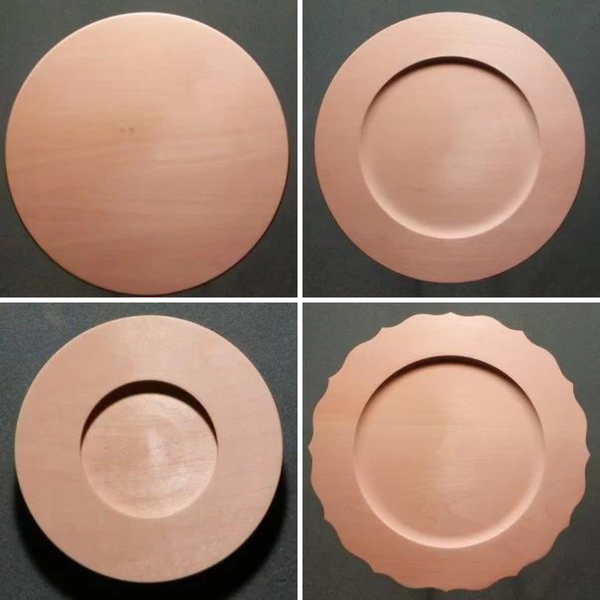
Ready to Carve Your Next Plate?
Check out the Platespage to see all of the clear Basswood Plates that are available! If you don't find the plate size or style you're looking for please send me an email at troy@mychipcarving.com