After sharing my Halloween pumpkin carving last week, I received several emails asking for more details about finishing with color pencils. So, this week, I’m diving into my favorite tips and tricks for using color pencils to finish your carvings.
Adding Color with Pencils: My Process
Color pencils are a simple way to add detail to your carvings, and they’re especially
handy for highlighting carved areas without a lot of mess. I always apply color pencils to bare wood before any lacquer or clear acrylic spray. This helps the color grip the wood and keeps things looking sharp.
If you make a stray mark, don’t worry! A Tombow Sand Eraser will take care of it. With a little practice, you can layer and
blend colors. Applying more pressure gives you a deeper, richer color; lighter pressure creates softer tones. For blending, I use a paintbrush with a little mineral oil. If I use mineral oil, I let the carving sit overnight to make sure it’s fully dry before sealing.
Sealing and Staining
Once you’re happy with the color, it’s time to seal your work. I use a clear spray acrylic or lacquer—one or two coats is usually enough. But if you plan to
add gel stain (like I did on my pumpkin carving and this month’s napkin holder), two or three coats of acrylic make a difference. Two coats let more stain soak in for a darker finish, while three coats keep the stain lighter. After staining, I always add a final coat of acrylic to lock everything in.
If you’re new to finishing, consider taking the Finishing Course. While I still need to add a lesson on color pencils, it covers everything from a simple, clear finish, using sanding sealers, how to use gel stains, antiquing finishes, and applying toners.
And if you have a favorite tip, I’d love to hear about it—just reply to this email or send your ideas to troy@mychipcarving.com!
November's Monthly Project
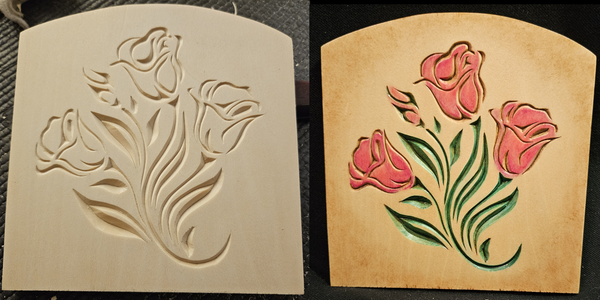
Napkin Holder: Free-Form Flowers
I thought it was time for another free-form pattern and decided on this flower pattern. It's a nice combination of a few larger chips and other thinner, flowing chips. Leave it natural, or add some color!
Order a Napkin Holder with or without a Pattern applied.
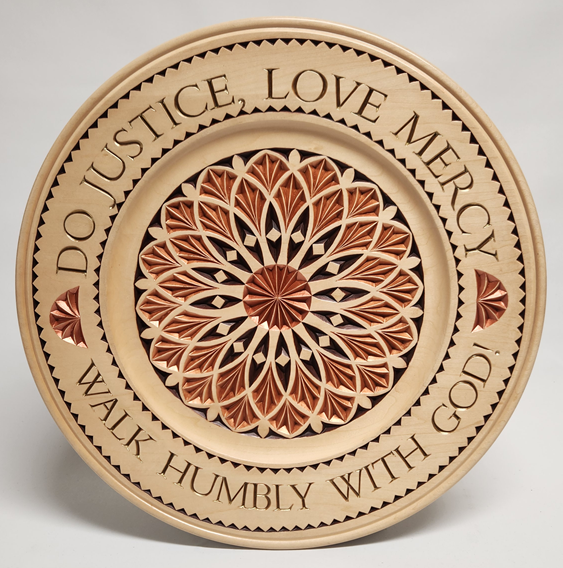
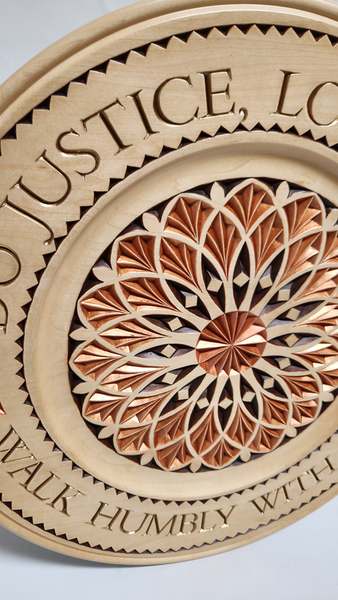
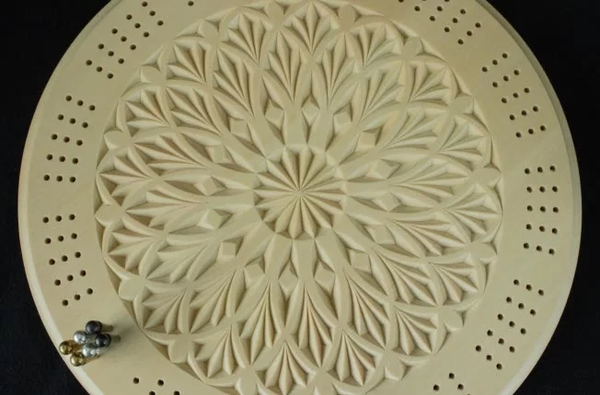
Here is one of Marty Leenhouts latest carvings. It's a 16" Outside Beaded Rim plate. The center rosette is the same used on the Cribbage Board. I zoomed in on the pictures and couldn't find any chatter or chip out. Amazing!!
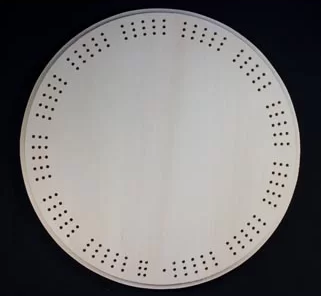
Is a Cribbage Board in Your Future??
Clear basswood with6 metal pegs available.
11″ diameter, 1/8″ holes
Carve your own custom cribbage board with this basswood blank. Pre-drilled so twice around equals one complete game.