Jim shared...
"An easier way is to just apply spray adhesive to the back of the pattern and carve right through the applied pattern."
And from David regarding a similar method...
"Best method.....print pattern.....spray release adhesive on back of pattern.....apply to basswood/etc.....chip carve pattern.....remove pattern/paper using WD40.....wipe clean/dry. " David
Tim said...
"Sorry, but haven’t use the transfer tool for some time.....as my work had involved a pre-painted project with pattern attached using release adhesive and the carving the pattern to expose the actual color of the base, and sometimes then applying an overspray color."
The following method that John explains is related to these "glue on the pattern" methods.
"Loving the videos while we are in "stay away" mode and shut in.
During my research for our club's "how to transfer" article I wrote, I found a really effective product you may want to try. It is much faster than the heat transfer method. It was designed to transfer patterns for sewing.
I contacted Sulky and for our show one year, they donated 100 sheets of their pattern transfer paper.
- I used one full size for a Buffalo image carved Plate and cut the other pieces smaller. You can use these in a laser or an ink jet printer and hand drawing! The paper is pre-glued and you put your pattern on, attach it to the wood then simply carve through the sheet. My knife did not gum up, they designed the glue for sewing machines and hand sewing. This is
worth a try and works in many areas. I did not like it for carving in the round. As I learn to chip carve more, this is the way I will transfer my patterns. It is available on Amazon and also most fabric stores." John
Sulky 409-02 Paper Solvy Water Soluble Fabric Stabilizer, 8-1/2 by 11-Inch
Cost, 8 sheets are $12.95
My thoughts on gluing the pattern (spray adhesive, rubber cement, etc.)on top or using self-adhesive sheets and carving through the paper.
This is faster but has some issues.
* You can't see the wood grain
* It's hard to carve back to back ridges with the paper on the sharp ridge
* You may have to deal with left over residue from the spray adhesive.
If this works best for you, "stick" (pun intended) with it!
And this...
"Yep, I did it the old timey way. Time for me to get a heat transfer tool, knock the dust off my tools…maybe move closer to a copy machine and get back to doing some chip carving. Thanks for sending the video." Lee
John mentioned this...
"I use a far better method to transfer patterns. Using an inkjet printer (NOT LASER). I create my patterns using software like adobe illustrator. I save the file and then print it in mirrored mode using wax paper or transparency plastic. The ink won’t dry on this material for some time. I apply the paper face down on the wood, being careful not to move and using a credit card I swipe across the surface. Voila a perfect
transfer. Remember do not use a laser printer as this will melt the wax or plastic and destroy the printer. Mylar material can be used over and over by simply cleaning it with water and a tissue or paper towel."
My reply and thoughts...
I'm glad you've found a method that works so well for you.
When I was looking for the best product to introduce to my customers, I tried the method you're describing. This was many years ago.
I found it a bit tricky. May have been my ink jet printer at the time as it wasn't very good :-)
A couple questions for you
1. Does the ink bleed into the pores of the wood when applied.
2. How do you remove left over pattern lines that aren't carved away?
3. Have you tried applying the pattern on top of a sealed surface?
John's reply...
"I never found a problem with bleed. My printer was set to light, Any left over lines came off with light sanding (I hesitate to sand too much because it would remove sharp edges. and I usually stain my pieces afterword with a walnut stain so then never showed. I never tried applying to a sealed surface but it might work. I would be afraid the lines might smear."
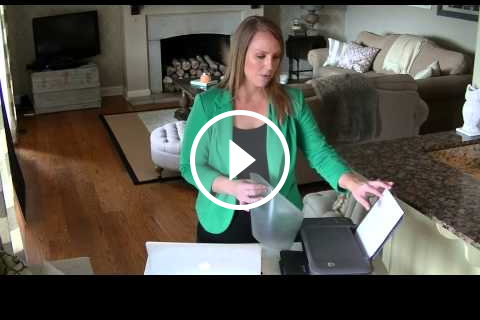
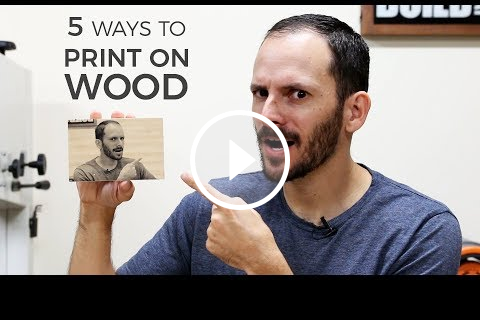
If you want to try this ink-jet method of pattern application, watch this video to see how it's done.