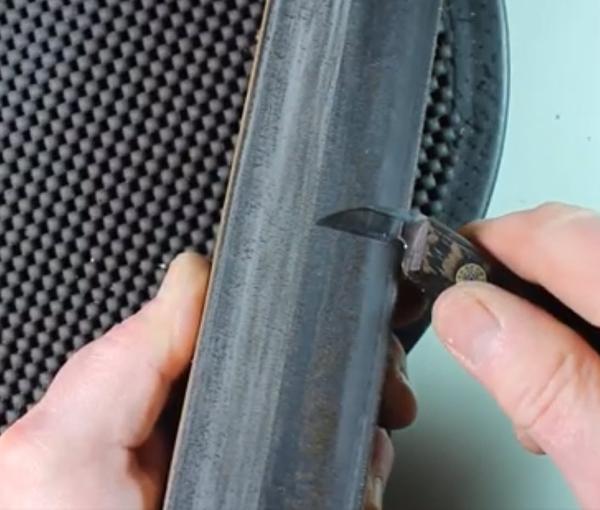
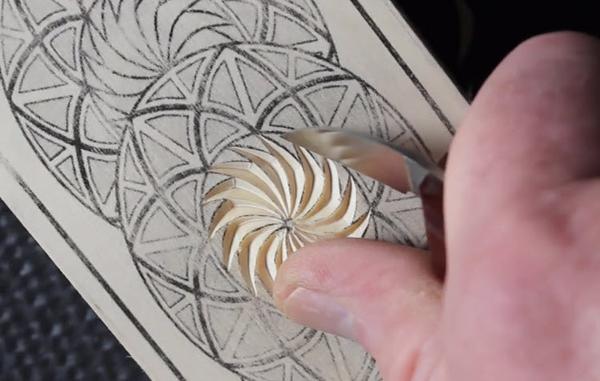
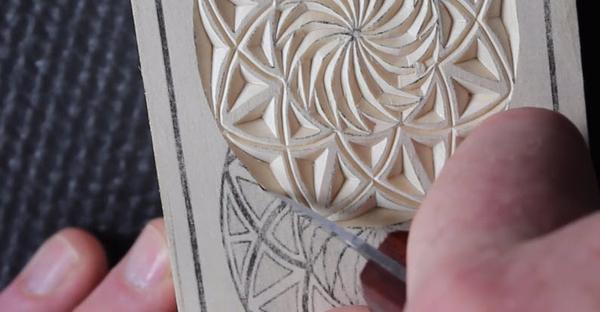
Start carving the swirl in the center of the main rosette.
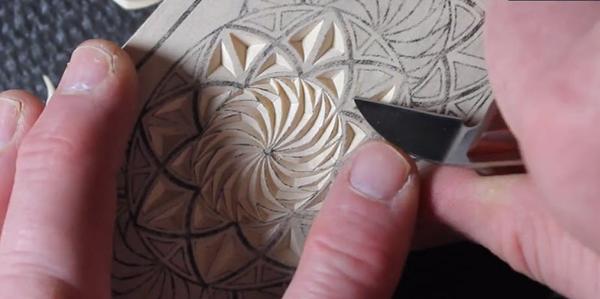
Next, remove the 3-corner chips that surround the swirl. Make the last cut on each chip with-the-grain and you'll get a smooth cut and a chip that pops out.
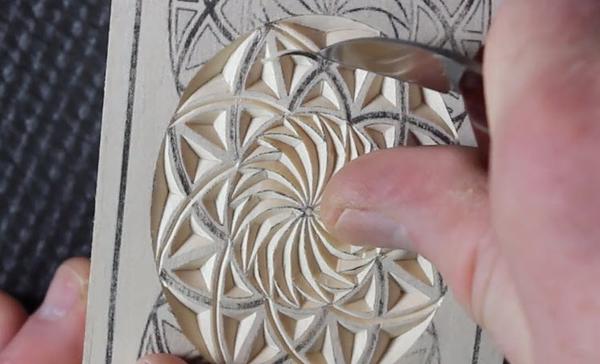
Finish the rosette by removing the 2-sided lines that divide the rosette into sections. Make the inside cuts of the curves first.
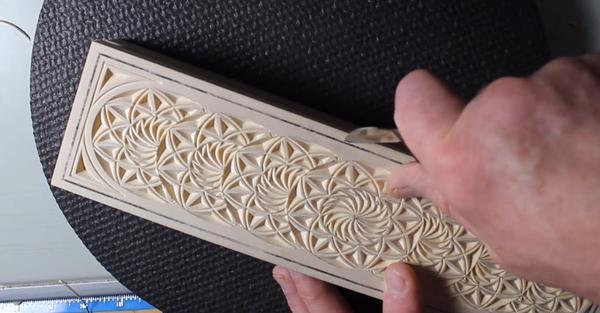
The rest of the rosettes are removed in the same way with one exception. To give the illusion of overlapping rosettes, increase the angle of the cuts where two rosettes meet. This will move the shadow closer to the line making one rosette appear to be on top of the other.
All that remains is to carve the border lines and 3-corner chips that set off the repeating rosettes. Align your forearm with the line to carve them nice and straight!
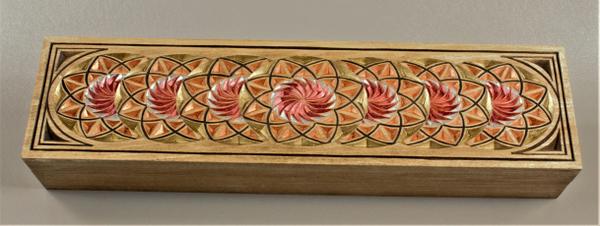
Next week I'll go over the finishing process I used on this project!
If you'd like to watch the 20-minute video where I explain in more depth and share some tips to help you successfully carve this box, consider upgrading to a Platinum Membership.