You'd think I'd have remembered to tell you about this before, but sometimes the obvious slips past me.
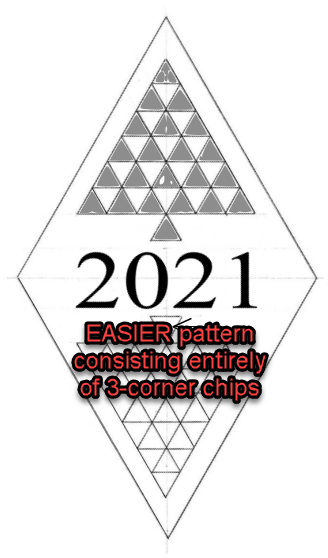
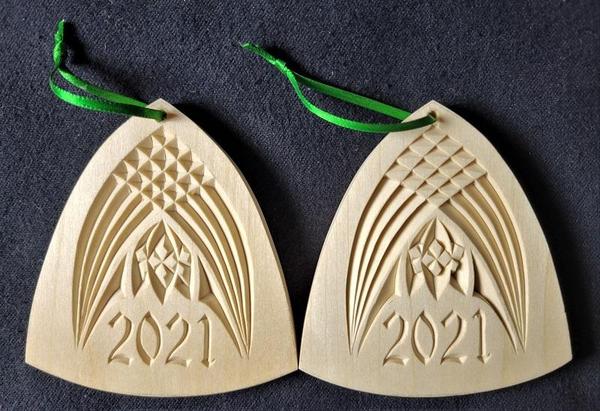
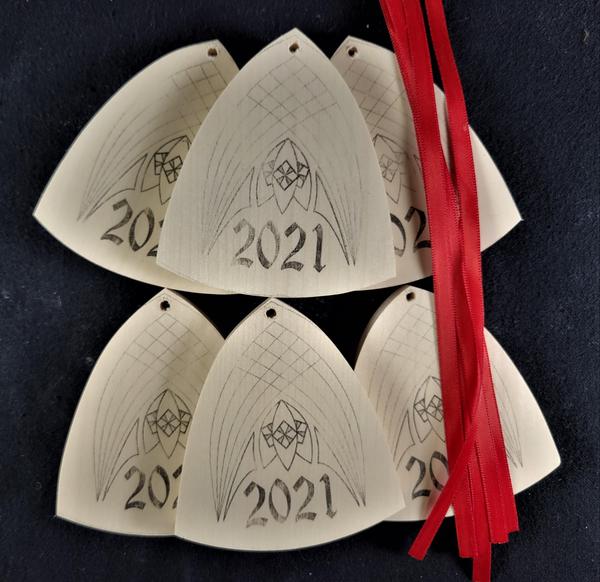
Recently I shared with a beginning chip carver an easier ornament pattern for this year and saving the 2021 pattern for the future when this carver's skills are developed and ready to tackle this more intricate pattern.
I know he's not alone and thought that you might like an easier pattern to chip carve for this year as well!
1. There have been times when I created patterns that had no markings to show what areas get carved. My bad.
When this is the case, the best solution is to look at a picture of the finished carving if it is available.
If a photo isn't available. get out your pencil and shade the areas you want to remove. There isn't necessarily and right and a wrong way to carve a pattern. Just remember to leave some parts of the pattern uncarved to provide contrast and a place for the viewers eye to be drawn towards.
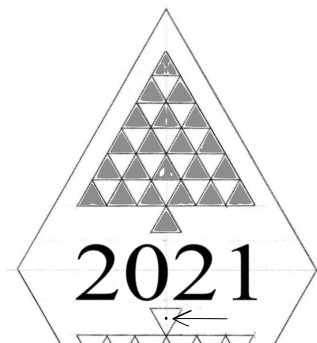
2. Years ago I started adding a small black dot in the center of chips to be removed. This helped as it also indicated the deepest part of the chip where the point of your knife should reach.
3. And now, most of the time, the part of the pattern to be carved will be shaded gray.
The picture below shows shading and a black dot on the chips I'd recommend removing on this pattern. Removing all of the 3-corner chips is possible but carving it that way would cause all of the chips to blend together and not provide any distinction in the center of the tree.
And finally, maybe you've thought...
"Why should I carve a trivet (October project)?
I don't have any use for that."
or...
"Carve a wine bottle holder? I don't drink wine."
Just because a project carries with it a certain name, that doesn't mean it can't be used in a different way! Be creative!!